Ó 2000 Judi Ward -Judis Dolls
... Making the sleeves, skirt, and adding the lace
and trims to the bodice also the "panty" ruffle. ...
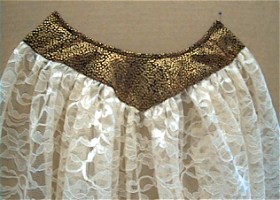
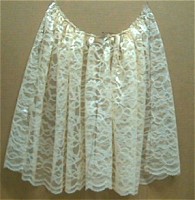 All gathered. |
 The skirt pinned to the outer yoke. Note the lining is still free. |
Little notches for lining up the gathers with the yoke dont work well on lace, they just get lost in the gathers, so you have to arrange the gathers yourself, using the "it looks great" approach!
NOTE*****An extra option*****If you wish you can cut a piece of very fine netting, (Tulle) to match the skirt, minus 1" in length, (17" instead of 18") and gather and sew it to the yoke over the lace skirt. I have done this with some of the dolls I have made and it is really nice. One I did with dark purple tulle, under lavender lace One with navy blue tulle under burgundy lace and one white under white.
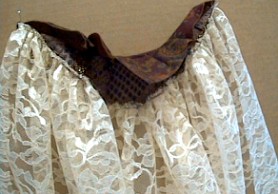 The lace sewn to the outer yoke. |
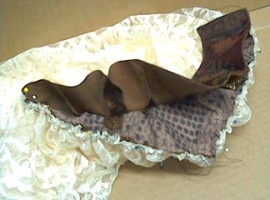
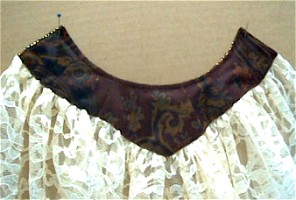
 The lining pinned down. |
|
|
 The right side. My "cool" old fabric. This fabric was from one of my skating competition costumes! |
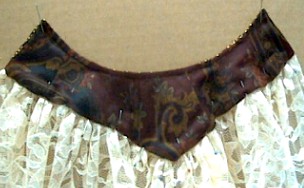
17) Sew the center back seam to within 4" of the yoke. Put the skirt on and decide whether you are going to sew it on, or put small snaps or VelcroÒ on the yoke, to close it. If you are really neat, you can even glue the back closed.
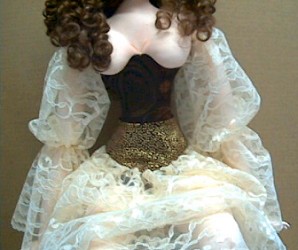
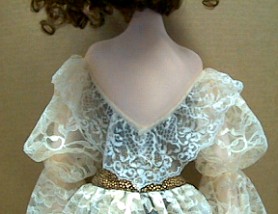
The skirt is on.
Time for the trims and to cover the bust.
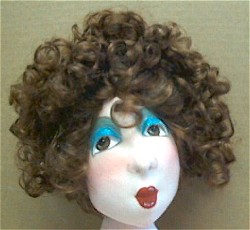
The doll I am working on has about a ton of hair that I needed to get out of the way to do the bodice trimmings, so I tied it up WOW! Love that look, even without eyelashes! Just wait til the eyelashes are on! Think I am going to leave her hair up.
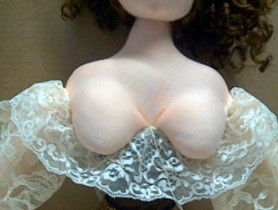
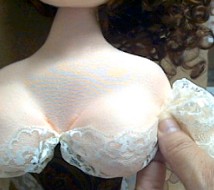
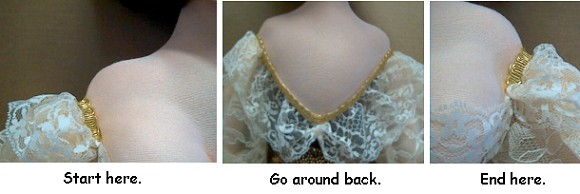
Lay the edge of the lace right along the edge of the shoulder plate, working up to the top of the shoulder and over the shoulder to the front. Glue or sew it down as you go.
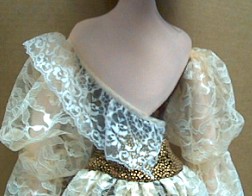 Sew or glue the lace trim along the edge. Note the overhang of the lace at the middle. |
 The gluing or sewing stops here for this side. DO NOT cut the lace off yet!!!!! |
4. Now trim the first back edge at an angle.
Trim the first back edge of the
lace at an
angle.
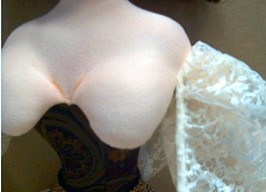
 The lace UNDER the boob and stitched in the middle. |
 The lace UNDER the other boob and going over the shoulder. |
The lace sewn or glued down the
back.
The end cut at an angle.
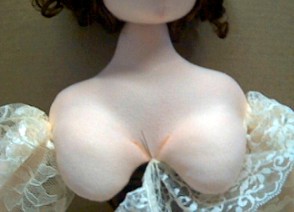
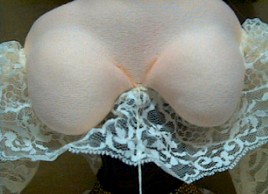 Gathered down the center. |
 The gathers pulled tight and secured by stitching in place. |
As you are sewing it, be sure the lace over the sleeves stays turned down, not up.
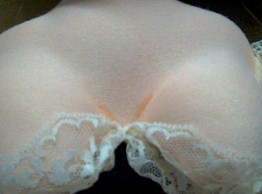
 Pinch the lace in the corners and sew it to the side of the boob. |
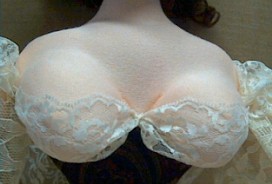 The boobs are finally covered, though not very modestly! |
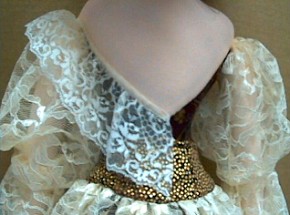
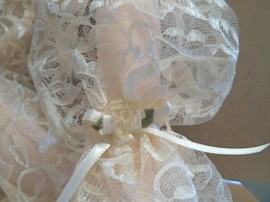
9) Time for trimming finally First, I like to gather up the center back of the lace trim and secure it.
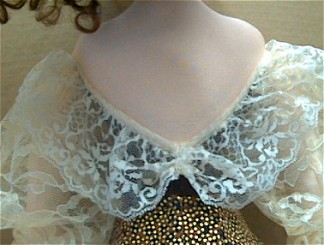
The center back of the lace
gathered up and sewn in place.
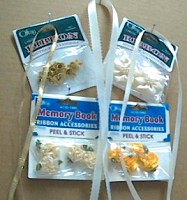
Lets look at some trims that are suitable for putting over the edge of the lace. The ones I am picturing are not necessarily for this doll. They are just to give you an idea of things that look nice over the edge of the lace. I am sure you all have a stash, just full of pretty "stuff" that you can use. I am going to use the gold braid in the middle.
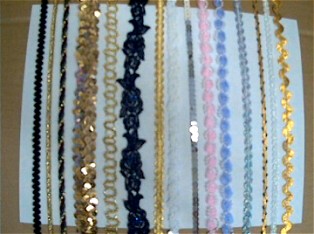
"Stuff" that makes good
trim over the lace.
Pictured are some flowers I got at Walmart, Michaels and Jo Anns. Some are Memory book trims so they are advertised as acid free.
You can of course sew or glue the flowers and ribbons in place.
I like ribbon tendrils and streamers, and really love the organdy ribbons, but none are pictured here with this assortment for the cream and brown doll.
I have some on several of the other dolls that have been pictured here and there in the class.
Some flowers and ribbons.
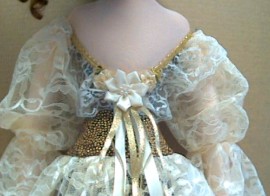
Now, please decorate to your hearts content. I am only going to show the "basic" decorations. Go All Out!!!! Pull Out All The Stops!!!! Use Your Most Wonderful "stuff"!!!!
Have Fun!!!!
 Streamers and flowers in back. |
 A simple ribbon bow and flower on the sleeve. |
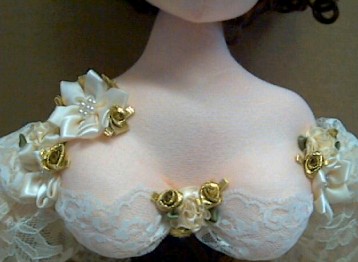
A pretty front. I used all of the
cream flowers.
The ruffled ones and the pleated ones.
I also used the little gold flowers.
I decided against the golden yellow ones.
Appliqués are also fun for the fronts of the torso on some dolls. I have dyed some, by making up Rit dye, and painting it where I wanted it. Some have been purchased in the color desired. At classes here, some of the dollmakers have used the larger appliqués coming up over the boobs too.
Pictured are some I have, one cream, one dyed and one on a doll. They would be really pretty beaded too but I dont bead. Do you?
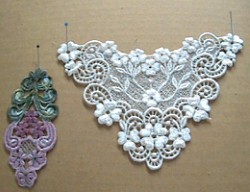 A dyed appliqué and a cream appliqué. |
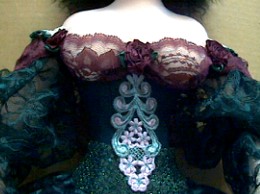 A dyed appliqué on a doll. |
Well, that does it for this chapter.
We will do those eyelashes and decorate the shoes in chapter 9.
Look for pictures of those wonderful resin shoes that are for sale all over the place to give you ideas for shoe decorations.
Have a little oven baked clay ready too, if you want to do the clay tabs.
Dolly Hugs, Judi
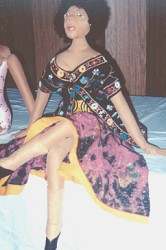
A Bohemian look achieved by
using an old skirt,
a vest front, and making
"boot tops" for a regular Milli' doll.
Go to... ~ Classroom ~ Pattern ~
Copyright
Notice: All pages and graphics are copyrighted
by the Internet Visions Company and/or instructor.
You may print these out for the use of the class only. All
other uses or distributions are forbidden.
Crafty College and Doll Net are divisions of the Internet Visions Company.
© 1997-2003, Internet Visions Co. All rights reserved.