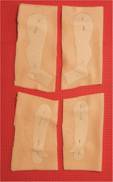
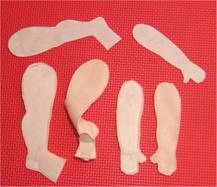
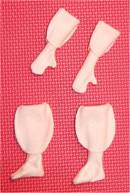
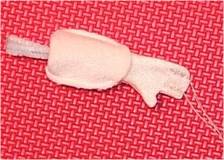
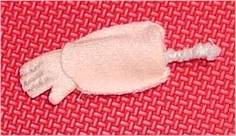
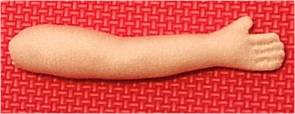
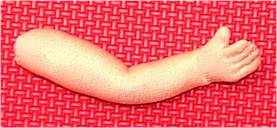
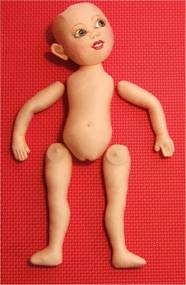
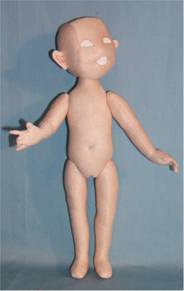
Bleuette in Cloth! Bonus These will be VERY brief directions. The head and body are exactly the same as for the ball jointed Bleuette. The arms and legs are simple, sew, turn, stuff limbs. You will use freezer paper templates as you did for the other arms and legs. If you want your Bleuette a bit shorter, and with chubbier legs and arms, run the "Stretch Direction" of the velour side to side. The doll pictured has the stretch direction up and down so she is slimmer limbed. 1. Iron the parts to your velour, right sides together. 2. Sew around the parts, leaving them open at the tops. 3. Cut the parts out a scant 1/8" from the stitching. 4. Iron the toe templates to the foot fronts, after folding the foot fronts "seam to seam". 5. Sew around the toe templates, tapering to the sides. 6. Cut around the toe templates close to the stitching. 7. Turn the parts right side out. 8. Stuff the hands lightly, the feet pretty firmly (NOTE remember about the fitting of the shoes) and the rest very firmly. IMPORTANT!!!! See # 11 after the NOTE for chenille stem stuffing of the fingers. 9. Insert joint buttons in the tops of the limbs the same as you did for the ball jointed limbs. 10. Close the openings with a ladder stitch. 11. Hand stitch between the fingers starting and ending at the tips so you can tie the thread and lose the ends. Plan a right and a left hand, by curving the hands NOTE You can also add chenille stems in the finger areas if desired, and hand stitch between them. To make this easy, cut 8 stems about 3" long and 2 about 2" long. Bend the tips over tightly. Put one stem in the pointer finger area, and stitch by it. Put another in the little finger area, and stitch by it. Watch your stitching so the fingers will be the correct sizes! Now put 2 stems in the middle fingers and stitch between them. Last, put one in the thumb. Bundle the stems, by wrapping with thread, and they will make a "bone" so you can bend the wrists and the elbows. 12. Joint the legs and arms to the body just that same as for the ball jointed legs and arms. YOU ARE DONE . See, I can write brief directions. A few pics follow too. You can of course, mix and match the parts. Put the harder hands on the easy arms The harder toe template on the easy legs The easy hands on the ball jointed arms, etc.
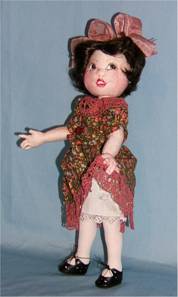
The easy Bleuette still wears all of the clothes in the magazines and the dress in this class/pattern. |