Bleuette in Cloth! Chapter 3 Part 1
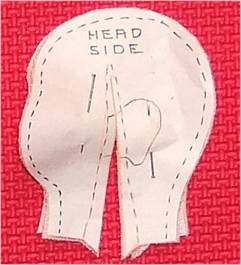
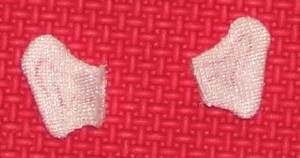
1. First, slit the dart in the head sides. The ears go in this dart. NOTE if you are going to use a long, full wig, you can omit the ears, but sew in the dart anyway. It helps shape the head. Pictures for directions follow after direction # 5. 2. Now sew around the curved edges of the ears, right against the freezer paper patterns. 3. Cut the ears out leaving a scant 1/8" seam allowance. 4. Take the Freezer Paper patterns off of the Head and body pieces DO NOT take the freezer paper patterns off of any of the other parts!!! I know you guys, once one starts taking the paper off, it is "OFF WITH THE PAPER!!" If you do that, you will just have to iron it all back on again. LOL 5. Turn the ears right side out .A forceps or hemostat or alligator nose pliers does this in a jiff. Run the blunt point of the turning tool you used around the inside to make all of the curves nice. BIG GIANT NOTE!!!! We have finally gotten this camera to work properly. I am also changing backgrounds for a lot of the pics. The camera required a tri-pod and a 3 foot distance for most pics to be at a very high quality! Who Knew!!! I am sure there is another way, as it is a very good camera .but I am a very old learner! The light changes are still a problem, but the pics are better.
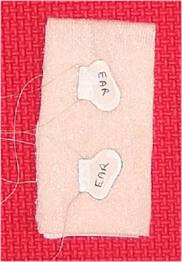
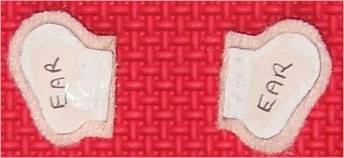
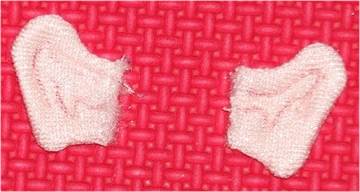
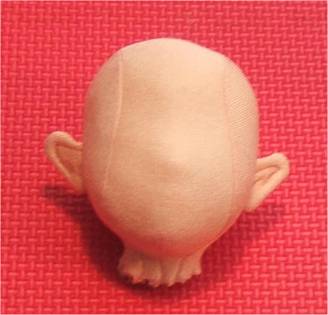
6. Draw inner stitch lines on the turned ears, making a right and a left. Sew on those lines either by machine or by hand. 7. Now place the ears in the dart slit in the head sides and sew the dart. Be sure the ears are at the same height in the slit!
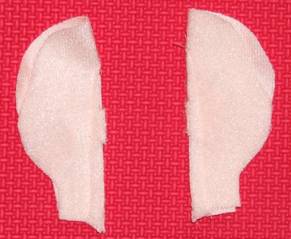
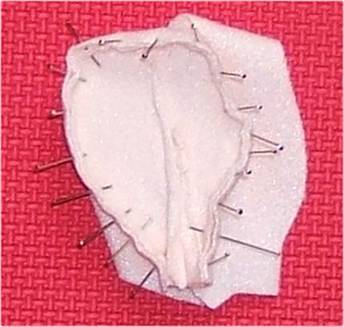
8. Next , fit, pin and sew the head center to the head sides. I always do this sewing with the long head center piece on top, as it is much easier to make the long piece follow the curves of the sides.
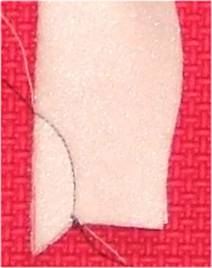
BIG CAUTION .Never pull the fabric or stretch it as you sew it. Ease it around the head sides. I have made this pattern many, many times and the head center fits the sides perfectly. 9. Repeat for the other side, pinning and sewing very carefully. 10. Now the back neck, and chin darts need to be sewn in The front chin dart should be a curved dart, about 5/8" long. The curved dart makes a nicer chin area. Below is a picture of the curved dart, sewn in black so you can you see it better. NOTE This picture is not done on my dolls head, just on a scrap for better viewing. The head seams should be fully sewn before sewing in any darts. Of course, you will not sew the darts in black!
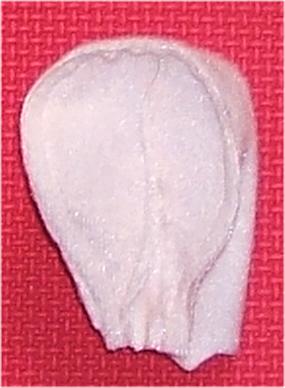
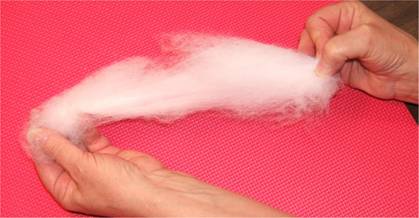
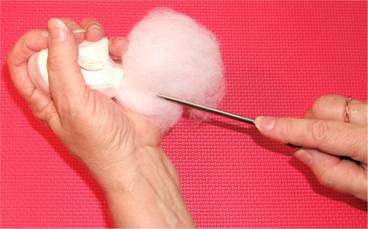
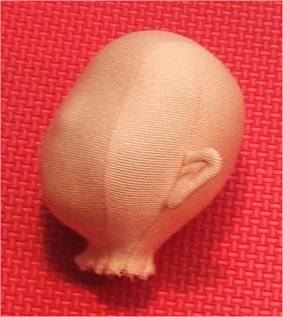
11. Now, You have the head all sewn and the darts sewn in at the center back neck and center front neck. Trim all of the seams to a scant 1/8". 12. Turn the head right side out, and run your finger along the seams on the inside to get all of the shape nice and smooth. TIME TO STUFF THE HEAD Following is a picture of the kind of stuffing I like. It "streams" when you gently pull it, rather than "breaking" off in clumps or bits. I stuff with a "streaming" action for most doll parts. My screwdriver simply pushes the stream of stuffing ahead of it. I pull the screwdriver back and catch a bit more stuffing in it, then push it into place. Repeat until the part is stuffed to perfection.
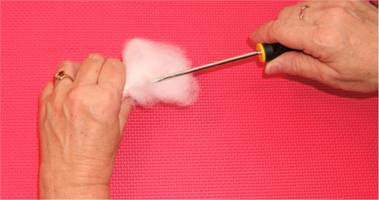
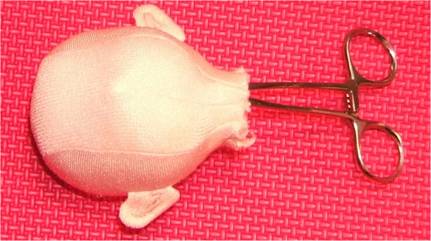
1. To start stuffing the head, pull off a piece of stuffing about the size of a golf ball and "stream" it to a longer shape. Start the stuffing into the neck opening, while holding the edge of the neck. Work it all in, up into the top of the head. Don't worry about any part except the top of the head at this time. Simply push it up there. The next layer of stuffing will be done the same way, and as you start getting the head top all full, shape it a bit by holding the whole head in your hand like pictured and press the stuffing more with your screwdriver. Repeat this holding and pushing as you fill the entire head, taking great care to get the cheeks to match.
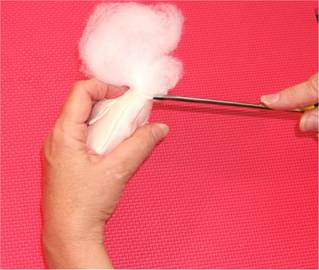
More pictures of the stuffing being forced to the top of the head And a pic showing how to pull the neck edge out with the tip of your screwdriver, as it will fold in as you are stuffing, and right up until the end, you will want to pull that edge back out.
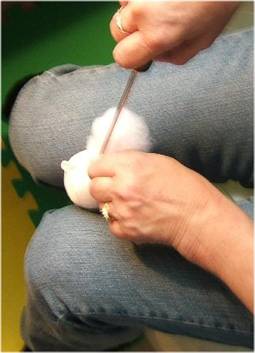
NOTE The very best place to stuff after most of the stuffing is in place, is down against your knees. You can really even the stuffing out all around this way. Then hold the head in your hand with the top of the head against your palm for the final push!
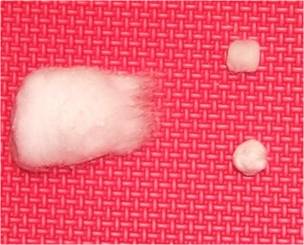
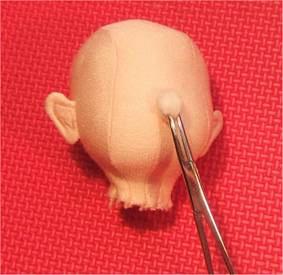
( BIG NOTE The neck of the body will go up into the head, so even though you must fill the head very firmly, keep in mind that a bit of room needs to be left in the center for the neck! Right before you attach the body and head, you will push really hard against the stuffing right in the center, holding the head with the top of it against your palm to stabilize it for this pushing.) 2. Finish stuffing the head, making the cheeks nice and round and with the tip of your screwdriver, work the seams in cheeks and forehead back towards the ears. 3. We will be inserting either a small ½" pom-pom or a bit of cotton ball to hint at a nose. Either works fine. If you are using a piece of cotton ball, pull off a piece about as big as a finger tip and roll it tightly around itself to make a hard ball about ½" across. The pictures that follow show the cotton ball with a piece taken off and rolled to make a small ball and the ½" pom-pom and the pom-pom or cotton showing where it will be INSIDE if the head and the cotton or pom-pom pushed up inside of the head using a hemostat to get it up there.
This picture is also about actual size. The "nose bump" should be a bit below the halfway point between the top of the head and the bottom of the face, not counting the neck. 4. After the nose bump is inside, stuff more stuffing into the cheeks and chin. Don't stuff the neck area. It will be turned to the inside when you attach the head to the body. Remember the NOTE above.
NOTE The ears are not tacked down until after the wig is on. 5. Set the head aside for later attaching it to the body, the easy needle sculpture and the face painting. Time to sit back and relax again .The very easy, very cute body is next.
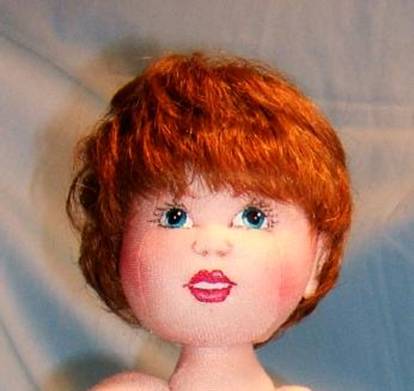
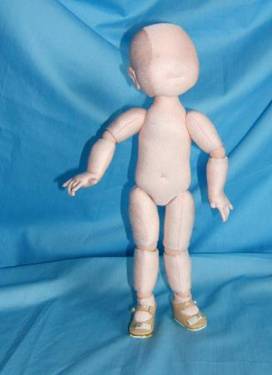
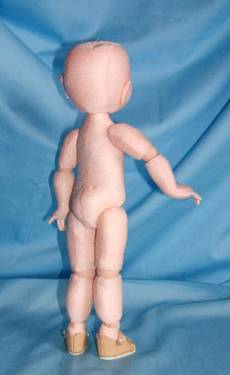
A little preview! This little doll is just as cute nude as dressed! She stands alone with shoes on. The picture on the left has the mouth pulled in. The right picture shows the mouth ties at the top of the head. |