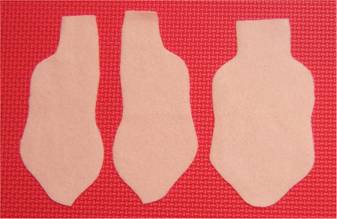
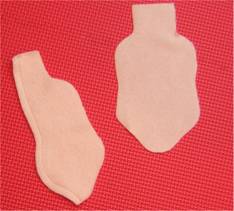
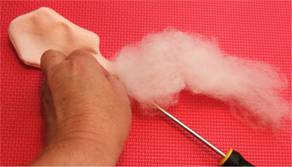
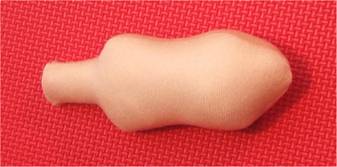
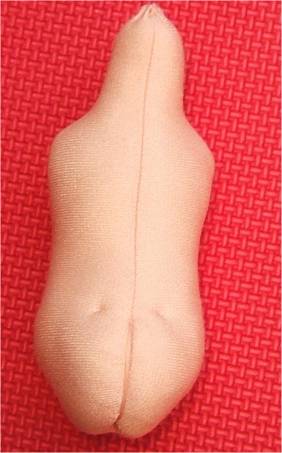
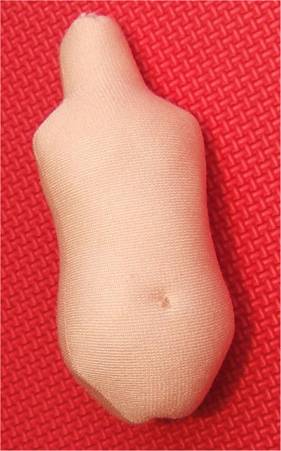
Bleuette in Cloth! Chapter 3 - Part 2 THE BODY The body for this little doll is easy and really cute when done. She has a belly button and cute little bottom with dimples. She has a sway back achieved by simply bending it to that position. Remember to stuff very firmly and evenly, and to stuff the neck especially hard before gathering the top of the neck to close it. NOTE I put part of a cotton ball at the top of the neck before closing it. Don't fill the whole neck with a cotton ball because it is impossible to sew through for attaching the turning head. BUT if you wish to ladder stitch the head on; you can fill the whole neck with cotton. Don't get the cotton in the shoulders! You won't be able to get a needle through to joint the arms if you do. Most of the body directions will be in pictures very little text is needed, except what I will write under the pictures. Use a full 1\4 " seam allowance for the body sewing and then you will trim the seams to a scant 1/8". Let's go .
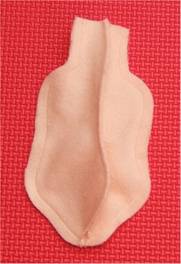
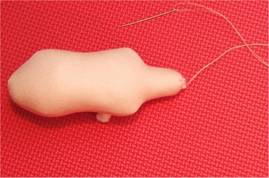
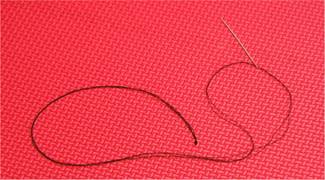
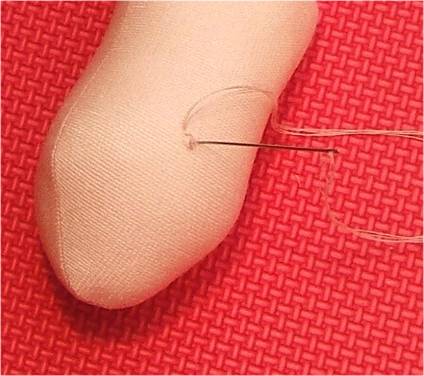
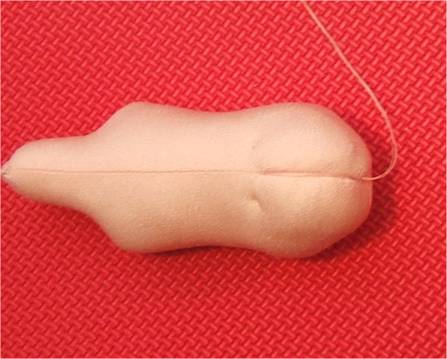
I use a John James Darner needle which is about 2" to 3" long and thin. It has a nice big eye though. Thread a 3" long needle with a quadruple thread. Put the needle in just a tiny bit off center, just below waist level. Take 3 or 4 little stitches to make the belly button. Now, Insert the needle right in the middle of the belly button. THEN
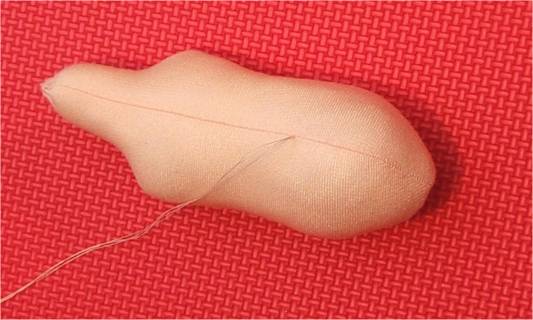
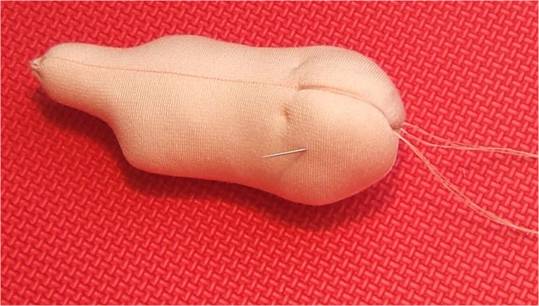
Now insert the needle into the center of the crotch and bring it out at the original exit point in the body back. Pull the thread so it slightly pulls in the little bottom, with the thread running right down the center seam. Take a couple of stitches in the crotch to secure the thread, and then put the needle in again at the crotch and bring it out a little to the side of the top of the "crack". This will make little dimples.
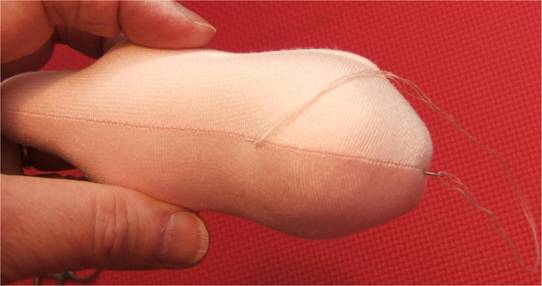
Re-enter at the first dimple and exit for a second dimple on the other side.
Re-enter at that dimple and exit in the crotch. Take a few stitches in the center of the crotch and THEN
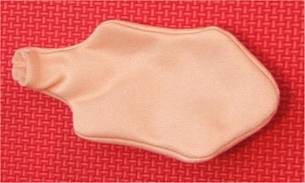
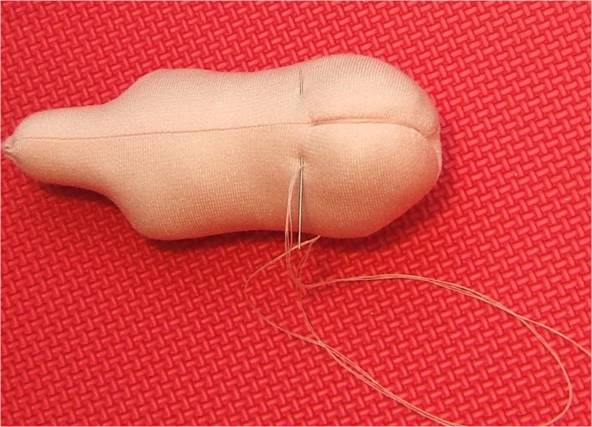
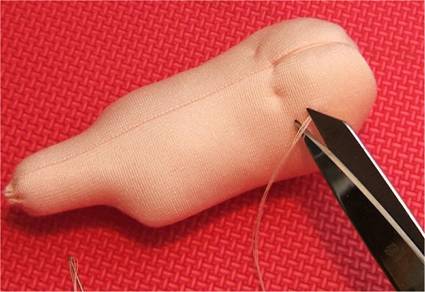
Exit your needle out in the side of your doll so you can "lose the ends" of the thread.
Clip the thread close to the "skin" and then lift the fabric with the tip of your needle so the ends are "lost" under the fabric.
Are you ready for the rest? We are getting closer and closer to those ball jointed legs and arms. I have saved them for the end, because after doing all of the head and body, you will want to tackle the "hard part". <smile> |