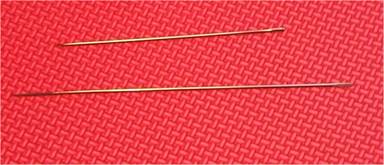
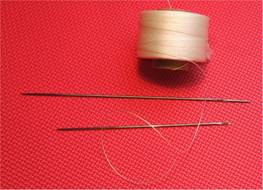
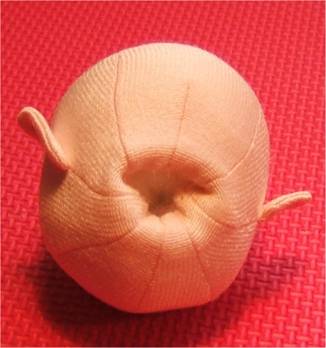
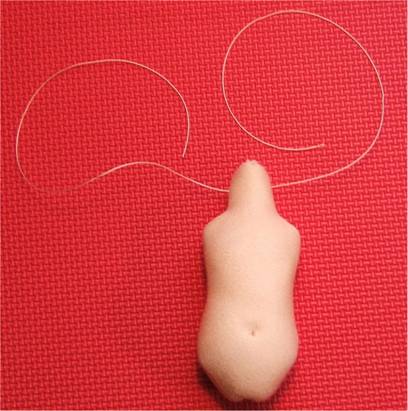
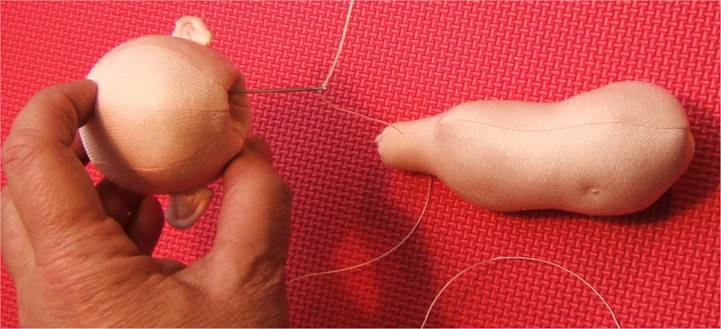
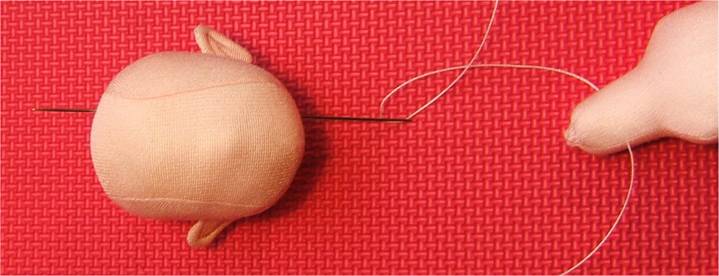
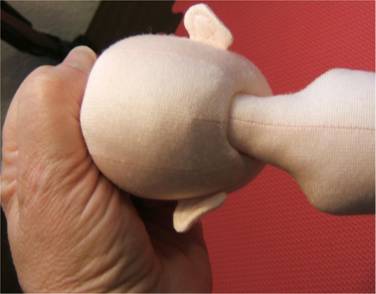
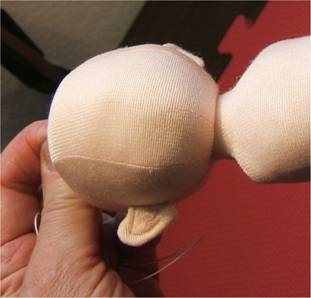
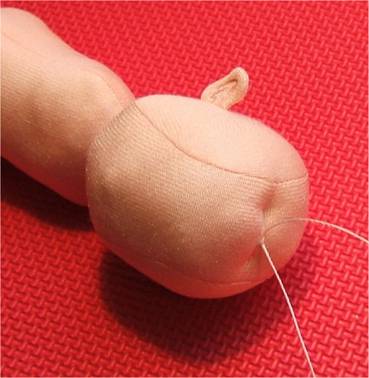
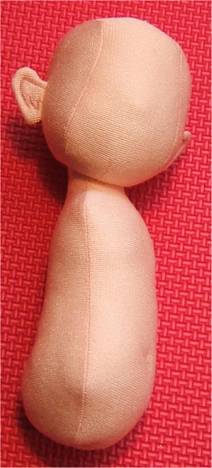
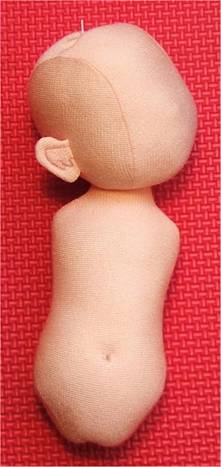
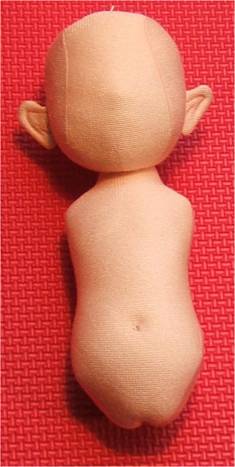
Bleuette in Cloth! Chapter 4 Attaching doll heads this way is soooo fast and easy!!! You can even do it on simple, flat tab heads, by cutting an X in the back of the head, and then following the directions below. Usually, once you attach a head this way, no matter what kind, you will never go back to the tedious stitching it on. BUT, you say The stuffing will come out!!! No, it doesn't come out if you stuffed the head properly and forced the stuffing up into the center of the head really hard, right before doing the attaching. NOTE If the head pulls down too far when you do the attaching, there is not enough stuffing in the head. Add more . If you can't get the neck into the head at all, you may be one of the 3 people in the world who can actually stuff too much!!! Take some stuffing out. Little Bleuette is a young child and does not have a long neck. The picture directions are easy to follow and most of the directions for this technique will again be in pictures with text below them. Needle pictures below. You can use many types of needles for sculpting and jointing. Thin for sculpting, fat for jointing.
Also pictured is the roll of nylon cord that I use and have used for over 30 years! This cord is now available in bead and jewelry making stores. Sometimes in smaller rolls though.
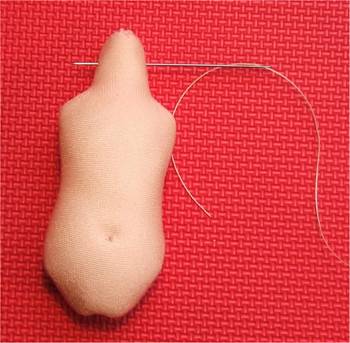
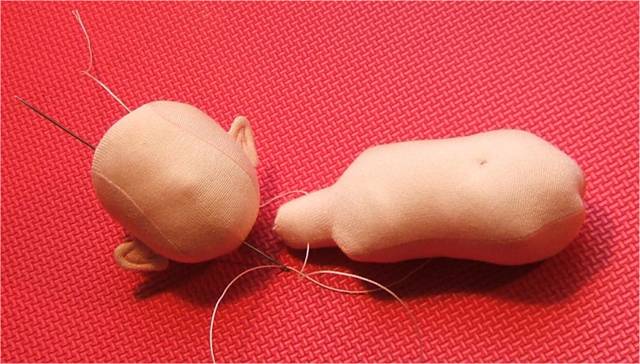
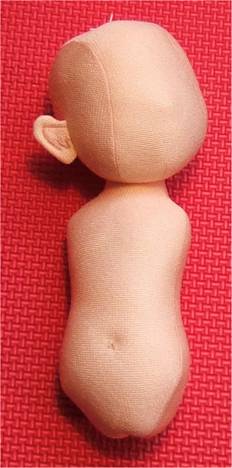
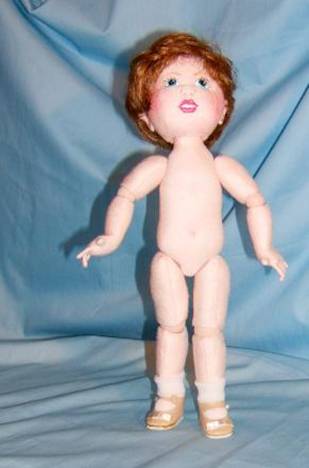
SOOOOO, CUTE! AND SOOOO, POSABLE. Just wait til you get your doll all together. You will have a ball posing and dressing her. Now, you have the head and body all together, so it is time to do the mild, easy, face sculpturing and placement off the features and painting. |
|||||||||
| Go to... ~ Classroom ~ | |||||||||
Copyright Notice: All pages and graphics are copyrighted by the Internet Visions Company and/or instructor.
You may print these out for the use of the class only. All other uses or distributions are forbidden.
Crafty College and Doll Net are divisions of the Internet Visions Company.
© 1997-2006, Internet Visions Co. All rights reserved.
All trademarks are owned by Internet Visions Company.