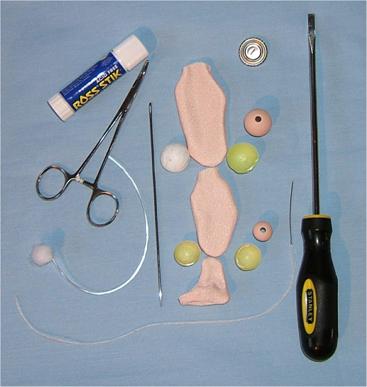
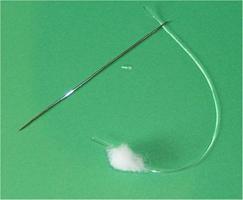
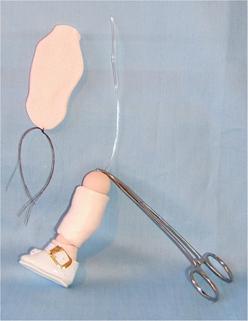
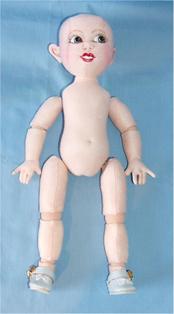
Bleuette in Cloth! Chapter 6 - Part 2 NOW FOR THE LEGS The legs have 2 ball joints each Much of the technique is the same, but you get to eliminate the chenille stems and the hard to turn fingers .soooo . Piece of cake! By the way, did you have one? Coffee too? I did. Here in Germany , almost everyone does at about 3 PM! Love the tradition, but not the weight gain! L Below is what you need to have ready for one "foot, calf, thigh" assembly Of course, you will need your stuffing too. My stuffing tool is a flat blade screwdriver, as everyone knows, and for this doll I have found it to be especially helpful in pressing the stuffing evenly all around, because I can't stuff the limbs for this doll as hard as I usually do. If you stuff too hard, the Grapes squish! The foot will be the softest, the calf will be harder and the thigh will be quite hard. Having the foot softer helps with shoe fitting too. You can fit the foot into a smaller shoe than if you stuffed hard.
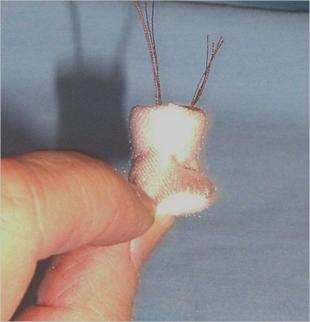
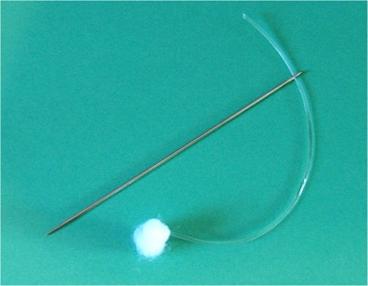
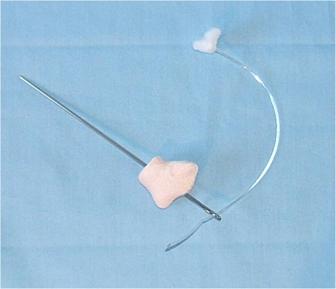
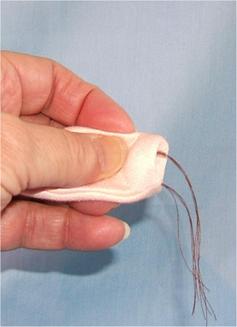
Your stuffing tool, preferably a screwdriver A glue stick .A 6" to 8" jointing needle with a big eye The foot, calf and thigh parts 2 small Grape cups, and 2 large grape cups One 14mm wood bead One 20mm wood bead the Stretch Magic cord tied to the stuffing The shank button you are going to use for the shoulder joint Your hemostat and a sewing needle threaded with a quadruple thread. Of course you need your stuffing too Here we go 1. First, tie a thread loosely at the center of the closed, rounded end of the ankle, calf and thigh pieces. This is to help you to find the center while you are inserting and positioning the grape cups. I did it with brown thread so you can see it better. It gets pulled out/cut off later anyway, so the color doesn't matter.
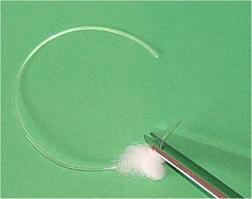
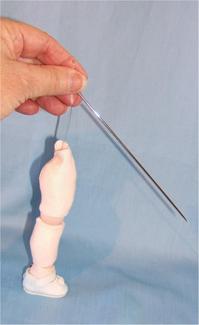
2. Now, cut the free end of the Stretch Magic Cord to a slant. This is so you can thread it through the eye of the 6" to 8" jointing needle. You may need to grab the bit with your hemostats to pull it through if you can't push it right through. Some of the needle eyes are big enough that you can just push it through, some not. I changed to a green paper because the cut cord didn't show on the blue fabric. The pictures/procedure for this cutting is exactly like those for the hand/arm. No need to re-invent the wheel here.
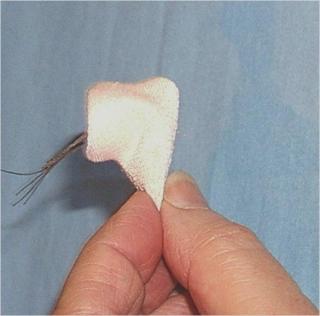
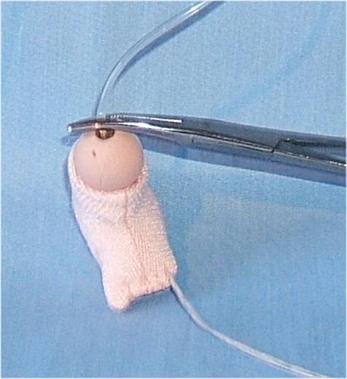
3. Now, insert the cup up into the top of the ankle Use the little threads to align the cup in the ankle top The top of the ankle will be concave to accept the wood bead for the ball joint. The following pictures tell the story. One thing to be careful of is that you get the grape centered as best you can, both front to back and side to side. It won't be "perfect" because everyone sews differently, but do get it as close as you can! That little thread is a great help for doing this. NOTE If you put the Grape Cup in place and it wants to "buckle", immediately take it out and cut a thin strip off. If it "buckles" it is a bit too big around, and removing the thin strip will make it smaller around. This holds true for every place where you put the Grape Cups in place. It is especially so where the cups go down into the closed ends. Sometimes you will get one grape in just fine for a part, and the exact same part, for the other arm or leg will not let you do it without cutting the thin strip off. Just be flexible, and don't try to force the cups to fit. The Grape Cups are just not exact science. Remember the thin strip picture before we did the arms?
I am so sorry!!! Some of the pictures are doing the "fuzzy, too bright thing" again! I am pretty sure that this camera and computer will be the death of me yet! I am a dollmaker, not a camera and computer expert. You can see the pics and get the idea, so I am not going to obsess!
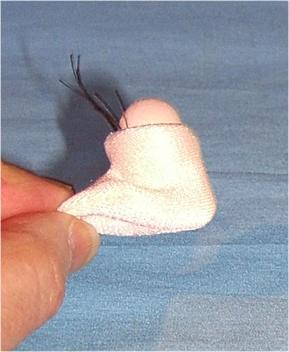
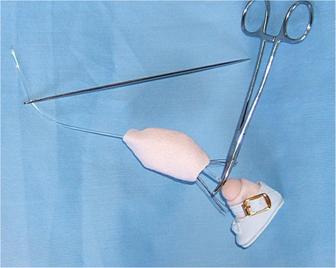
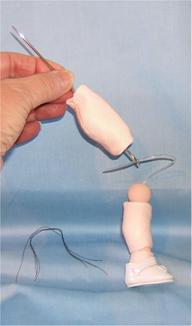
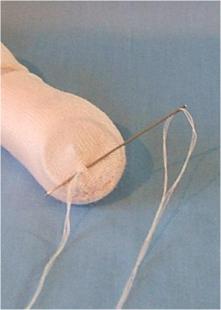
Once you get the foot/ankle all situated, take the ball out, if you tried it like I did, and we will begin stuffing the foot. 4. Stuff the toe area quite tightly, then the heel. Put just a thin layer of stuffing under the cup, and then thread your big needle with the Stretch Magic cord which has the stuffing tied to it. 5. Push the needle with the Stretch Magic cord and stuffing on it, into the bottom of the foot. Make the needle go through the X in the grape, and as you are pulling the needle through, be sure to keep the cloth pressed down in the cup too. It may want to push up, but just press down with your fingers to keep it in the cup. NOTE . I find that I have to work the needle side to side with a twisting motion, while pulling on it, to get it through.
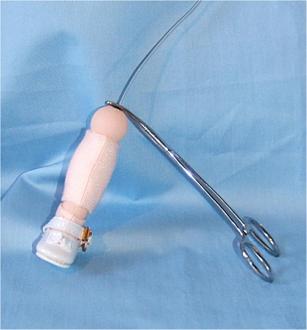
6. Now, clamp the bead into the cup, using your hemostat. Remember how you did this for the arm? This helps to keep everything in shape as you finish stuffing and closing the foot. 7. Stuff the stuffing blob into the foot and finish stuffing the foot lightly. Pictures follow
8. After you are satisfied with the stuffing, close the bottom of the foot with a ladder stitch. If you begin the stitch at the heel end, you can continue the thread to the toe end and then go right to the toe sculpting. To do the toe sculpting after closing, exit out between the big toe and the next, sculpt around twice, exit at the next toe area, and repeat for 4 sculpting threads, which makes 5 toes. Of course, the toes, other than the big toe can be left just as a foot front if you wish. Sculpting those tiny little toes in is a bit of a chore, and they almost never come out the exact way you desire!! OR You could choose the easy foot front from the beginning, which is just a rounded foot front, and the pattern for it is in the Bonus pattern for Bleuette without the ball joints.
9. Put the little shoe on just for fun, if you haven't already. It is soooo cute! this one came from Antina's Doll Supplies http://www.dollsupply.com It is an s260, size 8 Wow! that is a big buckle!
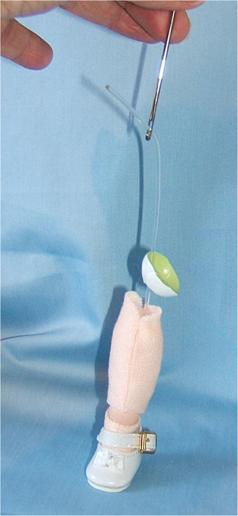
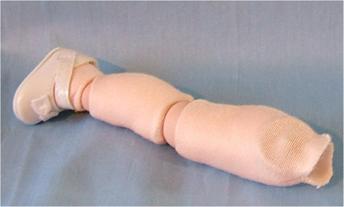
I just adore little doll shoes! When I make almost any doll, the first thing I look for or make are the shoes! 10. Now let's do the calf. Put a small grape cup into the closed end of the calf part. Remember what to do if it buckles a lot. Use the thread as a centering guide again too. 11. After the Grape cup is in place, stuff the calf a bit, not all the way, and then put the big needle into the "cup" end and out at the top of the calf. You can pull the guide thread out now too if desired.
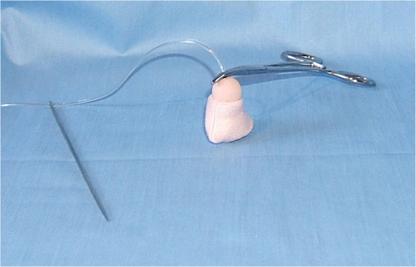
12. After you get the needle/cord through, stuff the calf pretty full. It will be tighter than the foot. Then press the Grape cup into place at the top of the calf, just like you did for the top of the lower arm. Add the bit of Glue to the edges of the open top, and press the fabric to the inside, then string the 20mm ball onto the cord, pull it down hard, then clamp it.
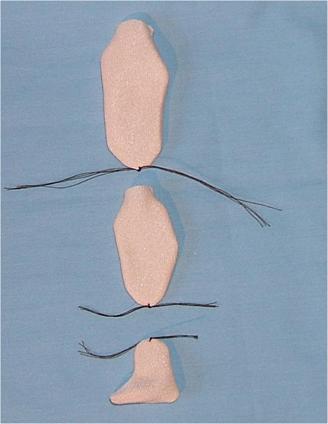
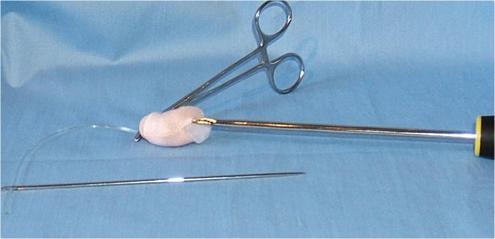
13. Now pick up the upper leg piece The grape half for this part of the leg goes down into the closed end where you have the thread. It is exactly like doing the upper arm, just a bit bigger.
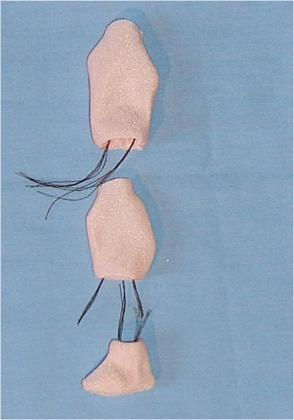
The preceding 2 pictures are just to help keep things in order, so you know what I am talking about as we continue. 14. Work the big Grape half down into place at the closed end of the thigh, and then stuff the thigh just a bit. Not all the way to the top right now. (Keep the little thread in place until you are ready to put the needle in.) It is so easy to lose the center.
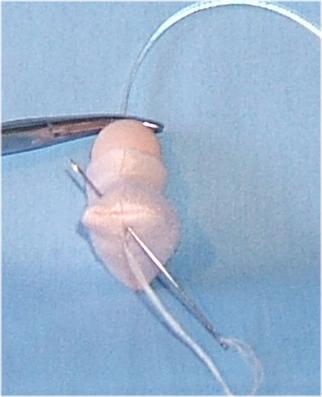
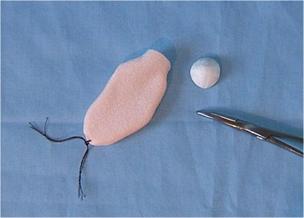
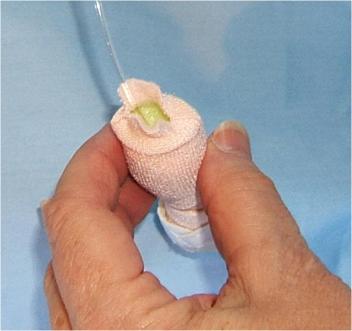
15. Finish stuffing the upper leg very firmly, and then clamp the Stretch Magic cord tightly against the top of the leg, and tie a bit of velour onto the cord. . Note .Remember how you did this for the upper arm?
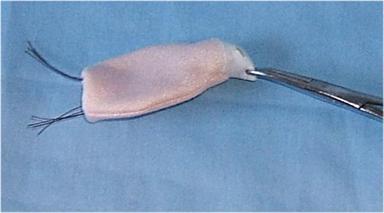
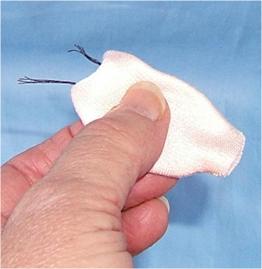
You can add a bit of "smelly" glue to the knot at this time too. I like Krazy Glue the best, but be careful with it! 16. If you added the glue, let it set a bit, and then let the knot and the bit of fabric go inside of the leg top, and then push your shank button down inside of the leg top, with the shank against the INNER leg. The big toe side is the inner leg side. Please note at this time that the legs have a definite shape. The calf bulges out in back and the thigh also has a curve in the back. Keep the parts on correctly, to prevent joint button mistakes. 17. Once the shank button is in place, and you have made sure the top is well stuffed, close the top of the leg with a ladder stitch. As you close the curved edge, be sure to take 2 or 3 stitches, and then push the stitched "ladder" with your finger and/or the point of your needle to encourage the fabric to go inside, and then pull the stitches tight.
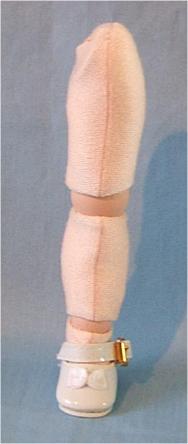
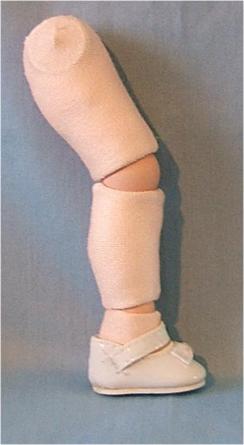
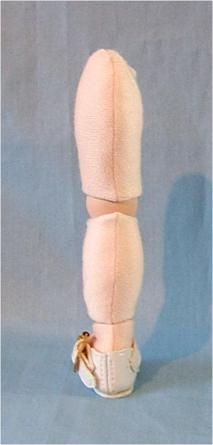
Some finished leg views. The legs will not bend a lot, but enough to sit nicely and .depending on how you aligned the cups, sometimes there is more "ball" at the back of the leg, and then it will bend more. Real porcelain dolls usually don't bend fully either, until their elastic gets old.
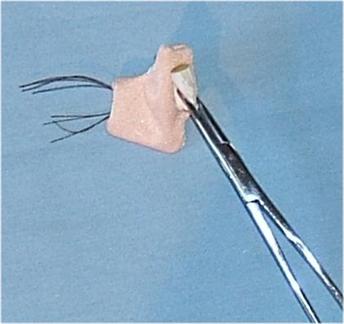
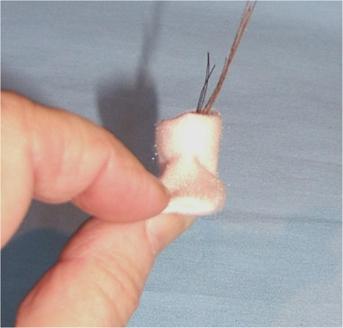
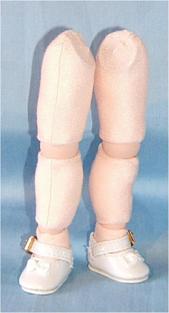
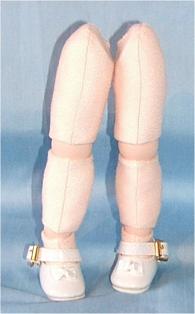
Cute little legs and all of the parts ready for jointing the hips and shoulders. NOTE The hips will not be wide when properly jointed to the body. 18. Now go back to the beginning and repeat for the second leg. Be sure to make a right and a left leg, by making sure the joint buttons are in the proper place the inner leg and make sure to have the calves and thighs turned the correct way, so that your doll does not have bulging shins or a "growth" on her thigh front! J The second leg should be fairly easy and your second whole doll will be a real piece of cake! I promise! We will joint the hips and shoulders in the next chapter. Many dollmakers already use my "invisible jointing" method, and once you get the hang of it the "back and forth through the body several times" method will be deleted from your dollmaking repertoire. My method goes through the body once and I show a way to tie the cords very tightly, all by yourself. You won't need to invite company over to hold the doll down or to hold the limb tightly.
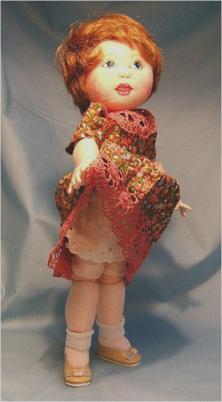
Three little Bleuette's The first doll is in the slip in this pattern/class. The last doll is in a dress made from the same pattern that is in this class, but shortened with a lace hem. The middle doll is in the dress as I am teaching it here in class. The simple dress here in the class can be made in so many ways! Pleated or gathered .With the lace collar or not From print of plain fabric With the button belt or with a ribbon tie I am trusting you great dollmakers to come up with wonderful variations for your little Bleuette. |