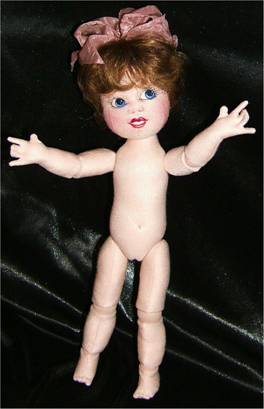
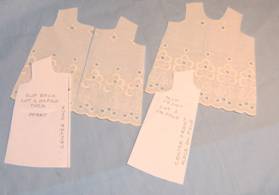
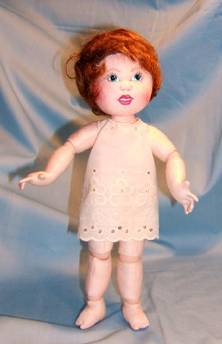
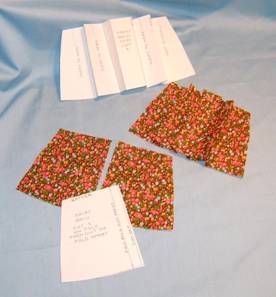
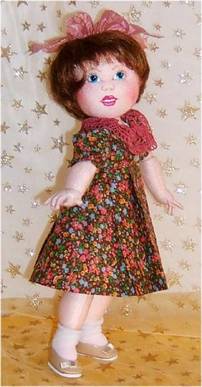
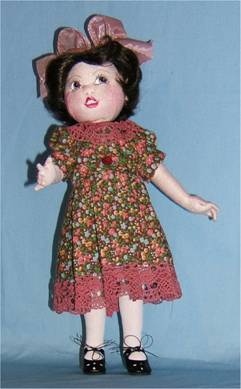
Bleuette in Cloth! Chapter 9 Although this cloth Bleuette can wear all of the clothes patterns done for the Porcelain Bleuette's. I am providing patterns for a little pleated front dress, slip and panties. After reading some of the magazine directions, (or lack of directions,) for making the Bleuette clothes, the directions here may help to make the other patterns too. The clothes here are "real" meant to have snap or button closures, and meant to be removable, so you can change your dolls clothes to your hearts content.
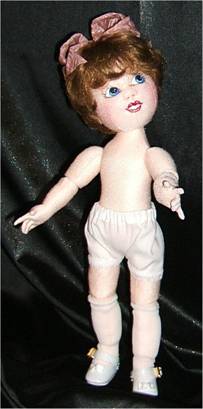
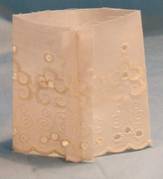
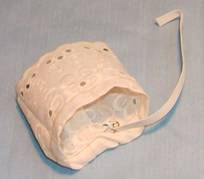
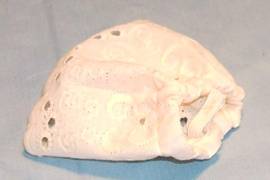
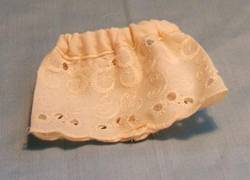
I have on purchased stockings that come in a roll and one just cuts off a pair as needed! They roll down so cute right above the knees. They also come from Antina's Doll Supply. I also have on purchased shoes from the same doll supply catalog. The panties are simply a strip of fabric or lace. THE PANTIES 1. Cut the panties from fabric and hem one long edge. sew lace to the hemmed edge or cut them from 3" - 3 1/2" wide eyelet lace. 2. Sew the short seam, and then hem the top edge, leaving a small space un-sewn to run the elastic through. 3. Hook the 1/4 " wide elastic to a small safety pin and run it through the top casing, then sew the ends of the elastic together. Sew the little open space shut. 4. Sew a short, 1/2 " seam in the crotch with the back seam centered. Turn right side out. They are done.
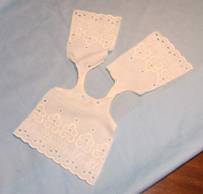
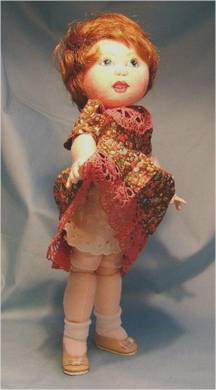
THE SLIP 1. Sew the shoulder seams. 2. Very narrowly hem the arm openings and the neck. If you have a lingerie stitch on your machine, that makes a nice hem with a few straight stitches and then a zig-zag stitch. It makes the edges look scalloped. 3. Sew the side seams. 4. Sew the narrow back hems. 5. Narrowly hem the bottom edge and sew lace over the hem if you are using fabric for the slip. If you are using wide eyelet lace, there is no need to hem the edge. 6. Sew the center back seam as shown on the pattern or make the hem in the back about 3/8" on both sides and the slip will be open all the way down the back. 7. Turn the slip right side out. If you sewed the center back seam, lap the right side which will be turned back about ½", over the left edge. Sew small snaps to the top neck edge or If you like hand work, make a tiny button hole in ½' lapped side and sew a tiny button to the other side. If the slip is open all the way down the back, you will need 3 or 4 snaps or buttons and button holes.
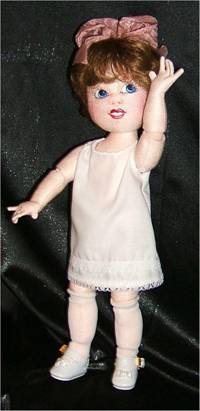
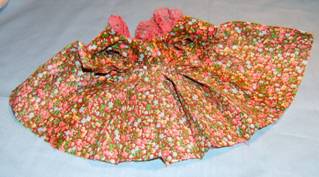
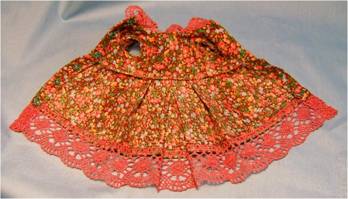
THE DRESS The dress in this pattern has a pleated or gathered skirt front, and is slightly A-Line..The skirt back has just the tiniest bit of gathering. It has puffy sleeves with a contrast cuff and it has gathered lace around the neck. The self fabric belt can be made or the dress can have a ribbon belt. I like the self fabric belt with the pleated front and a ribbon belt with the gathered front. One looks more tailored and the other more frilly. The dress can be made to open all the way down the back, or to be sewn part way up from the bottom, and have a shorter opening. Small snaps or hand made button holes and tiny buttons close the back.
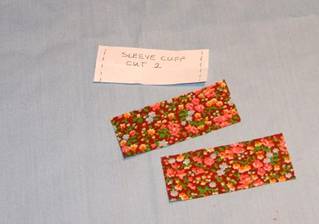
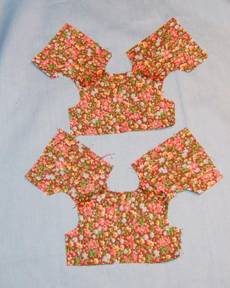
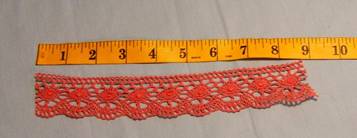
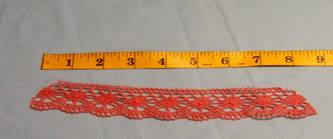
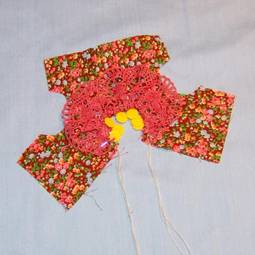
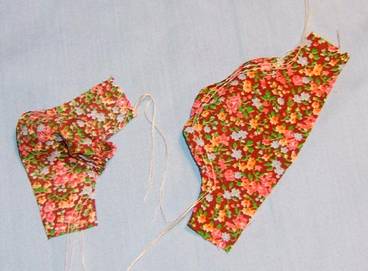
All of the dress parts with the pattern pieces, except for the sleeve cuff. I couldn't decide if I wanted it from self fabric or white. I chose self fabric for this dress. 1. Sew the shoulder seams of the dress bodices. One is for lining. 2. Cut you lace for the neckline and taper the ends as shown, both here and on the pattern sheet.
3. Run 2 rows of gather stitches along the straight edge of the lace, gathering in the tapered ends too. Pull the gathers to fit the neckline and pin in place. The ends of the lace should be back from the edge of the back edges of the bodice about 3/8".
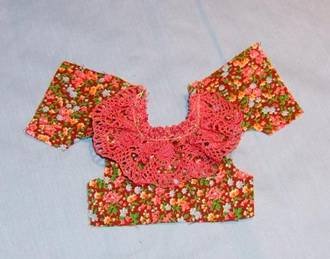
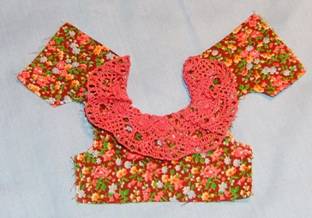
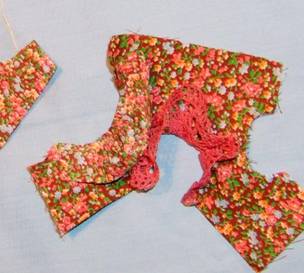
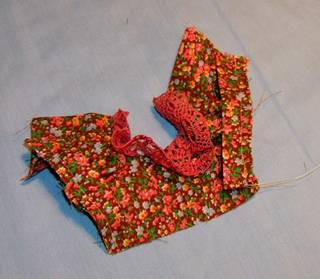
4. Sew the bodice and bodice lining together down both back edges and around the neck. Take care to keep the gathered lace as even as possible. 5. Clip curves and trim the neckline seam to a bit over 1/8". 6. Turn the bodice right side out and press very well.
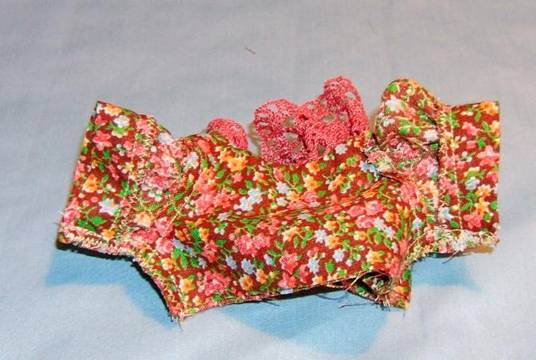
7. Run 2 rows of gathering stitches at the sleeve top. Pull the stitches so the sleeve fits into the armhole. Pin and sew the sleeves in place. I also like to trim this seam to about 1/8" and zig-zag over it to make it less bulky.
8. Press the sleeve cuffs lengthwise. 9. Gather the straight edge of the sleeves to fit the cuffs. 10. Fit, pin and sew the gathered edge of the sleeves to the cuffs.
11. Sew the side and under arm seams of the bodice. Trim seam to 1/8" and zig-zag stitch over the seam.
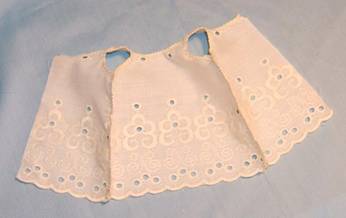
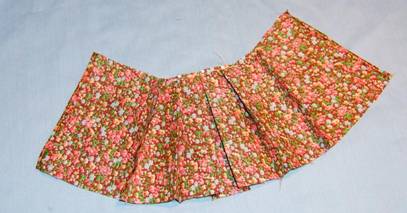
12. Get your skirt pieces and the pattern piece and fold and press the skirt front pleats in, then stitch them in place. NOTE***You can simply gather the skirt front if desired*** 13. Sew the side seams of the skirt, trim to 1/8" and then zig-zag over the trimmed edges.
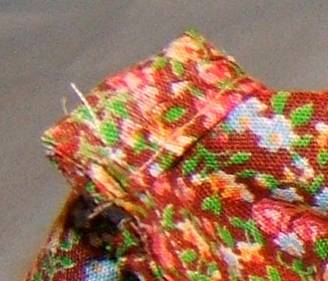
14. Sew and gather the little gather stitched areas in the skirt backs. The pattern shows them. 15. Hem the back edge of the skirt very narrowly. This edge will be folded back around the edge of the bodice to make a clean joining of bodice and skirt, with no little "thready" edges showing. 16. Fit, pin and sew the skirt to the bodice, folding the back edges of the skirt, back over the edge of the bodice. I hope the picture and more explanation below makes this clearer. I know many already finish the back edges of skirt/bodice assemblies this way, but some may not do it yet, and it makes the back edges so much more finished.
17. Zig-zag stitch over the joining of the bodice to the skirt. Press and sew in a tiny hem at the bottom, then hand hem the bottom of the skirt to the length you desire. I usually make a 3/4 " hem. 18. Sew snaps to the back edges or make tiny hand sewn button holes and sew tiny buttons to the back edge. Remember, Right over Left for girls. Another fun option for the dress is to cut off about an inch from the skirt length and sew lace to the bottom of the skirt to match the neckline lace.
And now you are all done except to have fun making more clothes for your little cloth Bleuette! Have fun, and send pictures to Alumni Hall! DOLLY HUGS JUDI |