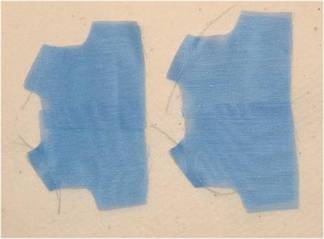
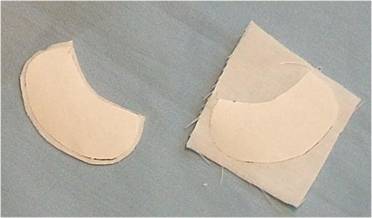
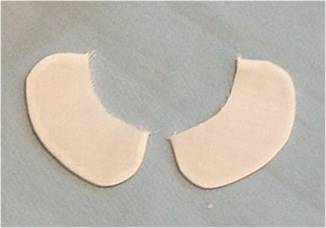
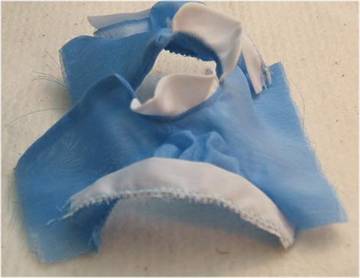
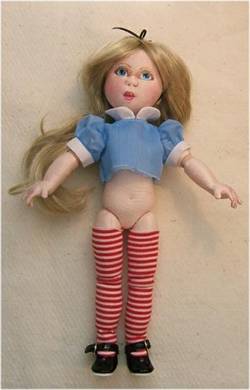
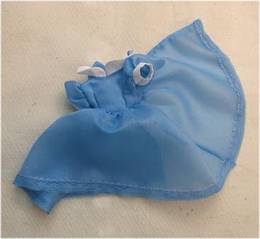
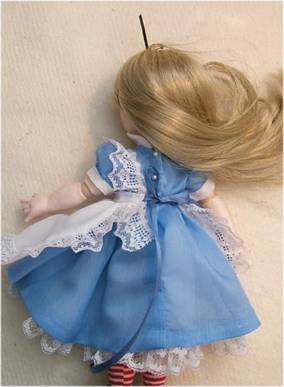
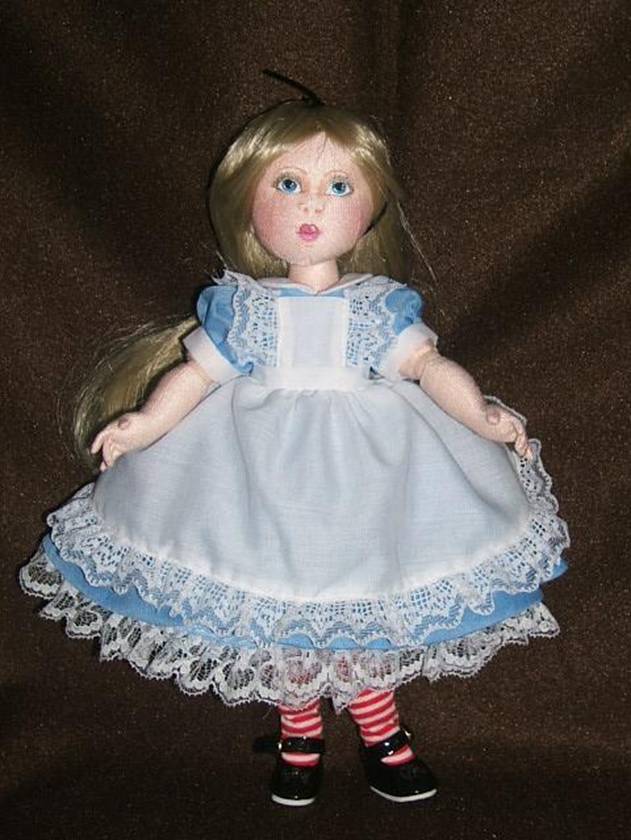
“BLEUETTE” Chapter 1 - Part 2 THE DRESS The dress in this pattern has a full and gathered A-Line skirt. It has puffy sleeves with contrast cuffs and it has a Peter Pan collar. The dress can be made to open all the way down the back, or to be sewn part way up from the bottom, and have a shorter opening. Small snaps or hand made button holes and tiny buttons close the back. 1. Sew the shoulder seams of the dress bodices. One is for lining. 2. Sew the larger curved edges of the collar pieces right at the edge of the Freezer Paper; cut out; clip little notches in the seam allowances to make smoother curves when turned, and then turn right side out. NOTE Patti Anne Stanley suggests these little notches rather than just clipping. It makes for very nice turned curves for all curved edges, including face seams on your dolls.
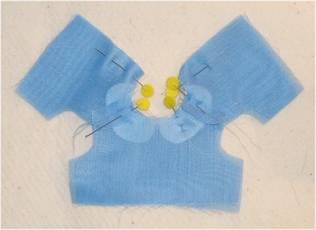
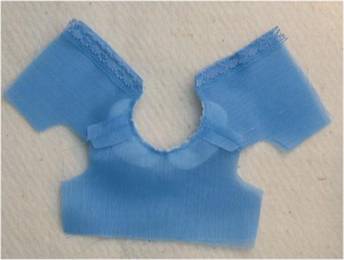
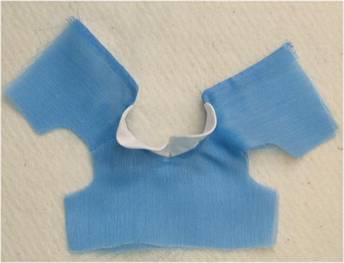
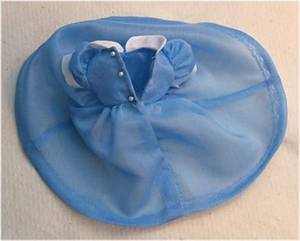
3. Fit, pin and sew the collars in place at the neck edge. NOTE I have Mega Pins! Be sure to leave at least 3/8" extra at the back edges. My fabric was also so thin and frayed so badly, that I added a bit to the back edge when I cut the pieces out, and re-inforced it with a strip of the hem lace. 4. Sew the bodice and lining together at the back edges and around the neck. Pinning here helps too. Trim the seams and clip the curves, then Zig-Zag stitch around the sewn edges. 5. Turn the bodice assembly right side out, and press.
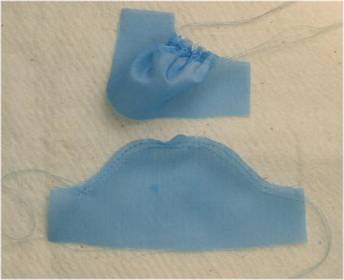
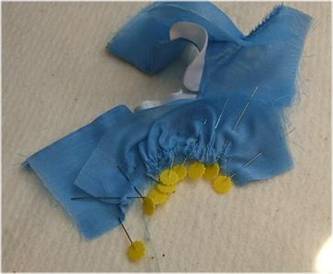
6. Run 2 rows of gather stitches along the curved edge of the sleeves. Pull the BOBBIN threads to gather the sleeves to fit the arm openings. Fit, pin and sew in place. Trim the seams to about 1/8" and zig-zag over them to make it less bulky.
7. Press the sleeve cuffs lengthwise. (no picture) 8. Gather the straight edge of the sleeves to fit the cuffs. (no picture) 9. Fit, pin and sew the gathered edge of the sleeves to the cuffs. Trim the seam and zig-zag over it.
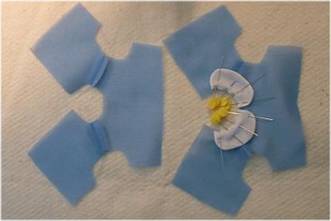
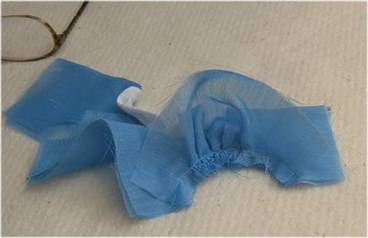
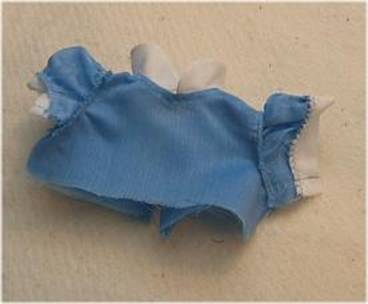
10. Sew the side and under arm seams of the bodice. Trim seam to 1/8" and zig-zag stitch over the seam. 11. Turn the bodice right side out, and press if needed.
12. Try the bodice on your doll and decide if the bodice needs the front darts. They are marked on the pattern, both front and back, but you may not need to sew them in. If they are needed, sew them in. My doll needed them as the bodice stuck out in front.
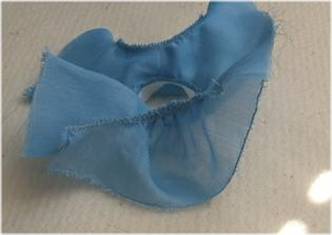
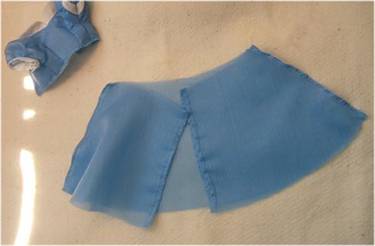
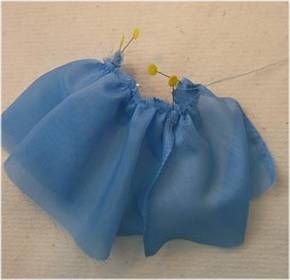
I sewed the darts in the front after I took the bodice off. Look at your pattern piece for approximate location. If you made a doll with the stretch of the fabric side to side, you probably don't need the darts at all. 13. Sew the side seams of the skirt, trim to 1/8" and then zig-zag over the trimmed edges. Also narrowly hem the back edges.
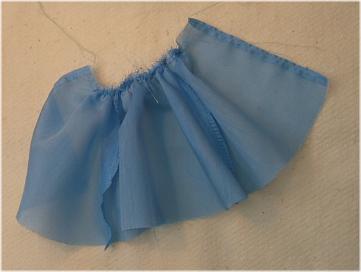
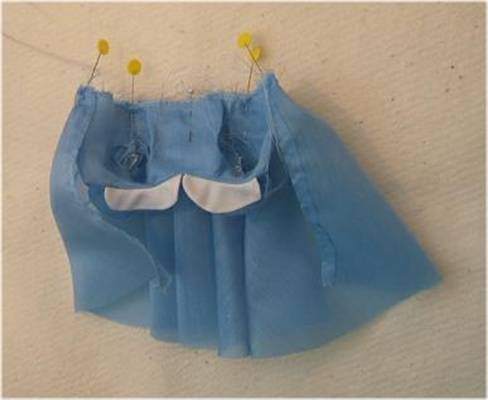
15. Fit, pin and sew the skirt to the bodice, folding the back edges of the skirt, back over the edge of the bodice. I hope the picture and more explanation below makes this clearer. I know many already finish the back edges of skirt/bodice assemblies this way, but some may not do it yet, and it makes the back edges so much more finished. It shows very well on the Petticoat pictures.
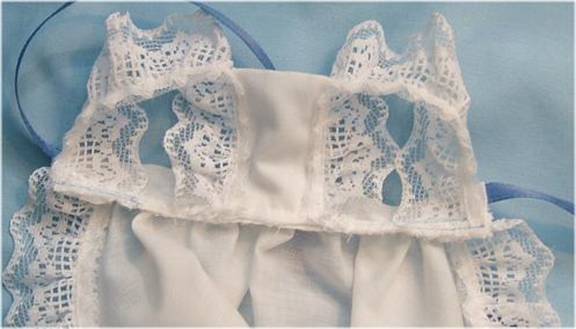
16. Sew flexible lace RST to the bottom edge of the skirt, if you are going to hand sew a hem about 1/2 " wide 17. Carefully hand hem the dress and then sew up the back seam from the bottom to within about 2" of the waist edge. 18. Sew tiny snaps to the bodice back and I like to sew a tiny pearl over the snaps position to simulate buttons .OR .if you like to make little hand sewn buttonholes and sew on buttons, do that as it is such a lovely finish.
.or sew a tiny rolled hem if desired . 19. Now for the final finish Put all of your dolls clothes on, and position the pinafore carefully at the front and pin it in place to hold it while you adjust the straps. 20. Pull the straps over the shoulders and under the waistband of the pinafore and tie the ties. 21. Pin the straps in place then remove the pinafore and sew the straps in place right on the seam of the skirt and waistband joining.
And now I am all done with the clothes sooooo!
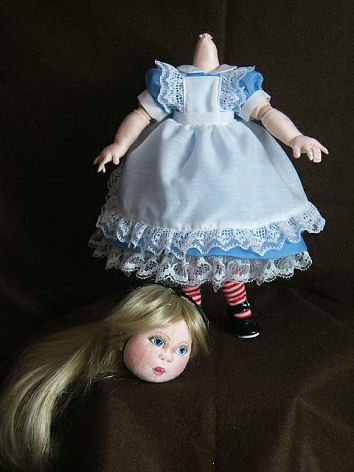
OFF WITH HER HEAD!!!!
|
||||||||||||||||||
| Go to... ~ Classroom ~ | ||||||||||||||||||


Copyright Notice: All pages and graphics are copyrighted by the Internet Visions Company and/or instructor.
You may print these out for the use of the class only. All other uses or distributions are forbidden.
Crafty College and Doll Net are divisions of the Internet Visions Company.
© 1997-2006, Internet Visions Co. All rights reserved.
All trademarks are owned by Internet Visions Company.