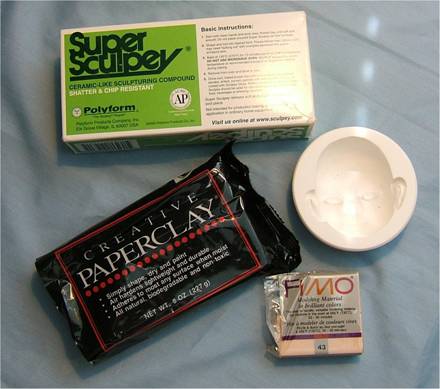
“BLEUETTE” Chapter 2 - Part 1 I want this to be a fun, non stressful project. Many are "afraid" of clay of any kind so I will show several faces, several "fixes" and assure you that this is not rocket science and if it is all messed up the first time, simply wet your hands and have a go at it again. Almost any damage can be fixed easily and once you get a feel for the clay and start having fun, you will love this. I am sure there are many ways to make these cloth covered, pressed faces, and if you already do this, use the way you like. At my request, Sherry designed this mold with ears, so the head back can be sewn on behind them and almost any wig will look lovely. This mold also has a very high forehead, which makes it great for changing the "look" and for removing it from the mold. 1. You will need your mold and clay The picture shows Creative Paper Clay® and both Fimo® and Super Sculpey®. I have used all 3, but the Fimo and Super Sculpey have to be baked and are heavier, so it makes the dolls head a bit too heavy. I have decided that for this project, Creative Paperclay® works the best .now for décor items, the head mold can be used with the heavier clays with great success .Think embellished books, boxes, totes etc.
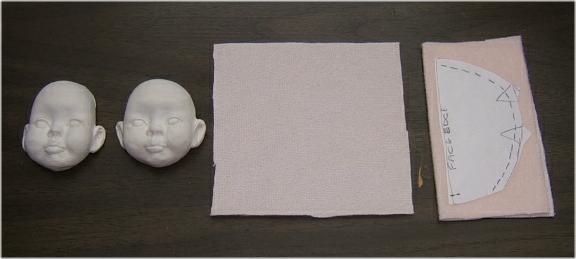
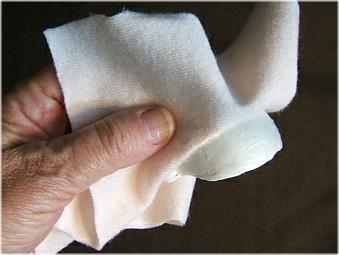
2. You will need your velour One piece for over the face and one piece for the head back. See the supplies for the amount. It is a little bit.
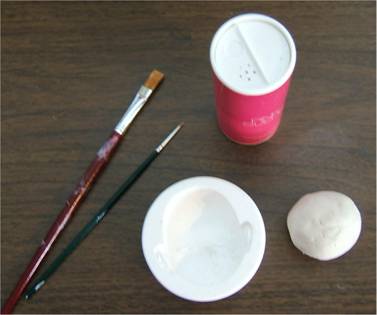
3. You will need some talcum powder. Any kind works. The picture has some paintbrushes, a golf ball sized wad of clay, and the face mold in it too. Be sure your clay is very damp If it is a bit old and crumbly, wet your hands and work it until it is smooth like bread dough, but not real sticky.
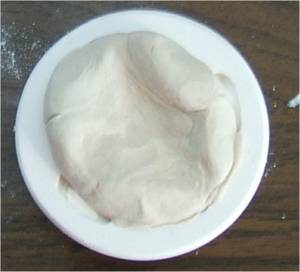
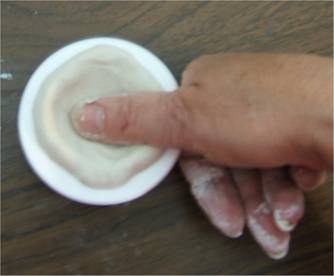
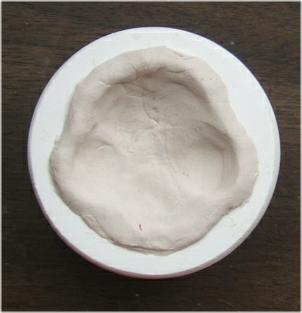
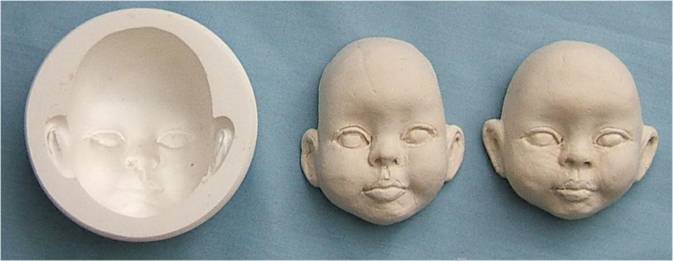
5. Sprinkle the mold with talcum powder. Shake out the excess. (No picture because it didn't show up in a photo.) 6. Take a piece of Creative Paperclay® about the size of a golf ball, and start pressing it into the mold, center first and then out to the sides. Press quite hard, and be sure to "squish" it into the nose and eyes. Also get it out into the ears. Keep it quite thick and make sure the edges are thick so when you glue the fabric around it, it will have a good place to grab, and won't crumble. This is especially true at the ears. If they are very thin at the edges, they will break off as you glue the fabric around them.
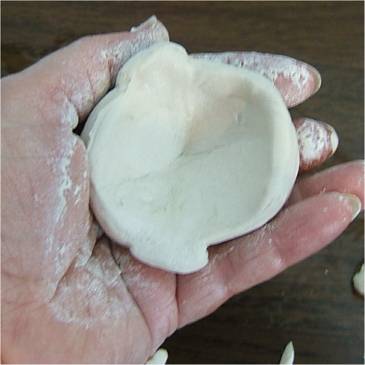
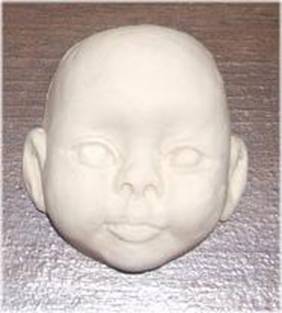
7. Once the clay is pressed in, and you have "fixed" the edges so they are not all out of the mold, carefully remove the clay from the mold, lifting from the forehead . It will bend a bit, but is easily "moved" back into shape. At this point, you can also re-shape the face a bit. Make it thinner or fatter Roll the forehead back more; perhaps press in dimples with a paintbrush handle etc.
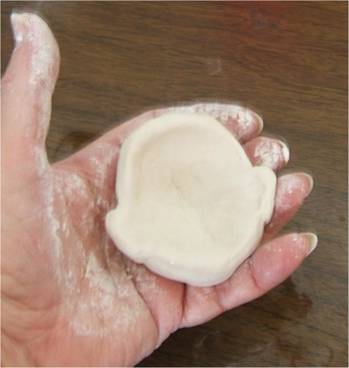
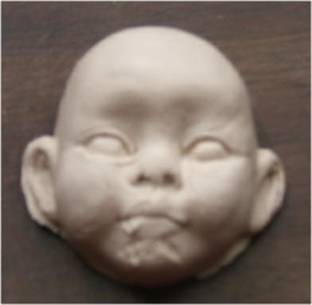
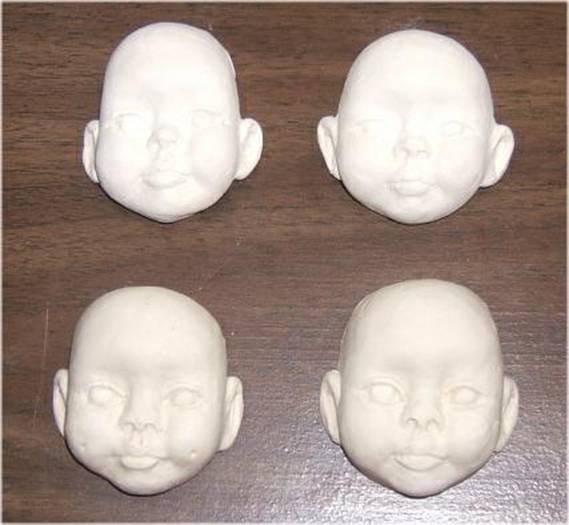
8. If you trust yourself with water, fingers and a paintbrush, you can smooth roughness on the face at this time too .or .you can wait and smooth minor roughness with sandpaper after the face has dried. If you are a bit of a sculptor yourself, you can change the face quite a lot while it is wet too. Sometimes a face will have a BIG defect, but it is easily fixed with a wet finger. See the poor little dear that follows!
Sorry about the quality of some of these photos! My camera is in a bad mood and so is the weather! One picture will be good, and then the same place, face and time, the next will be bad!!! Technology is a mystery to me, and I don't have the patience for it!
For Bleuette, the clefts made the faces too Elf or Pixie like.
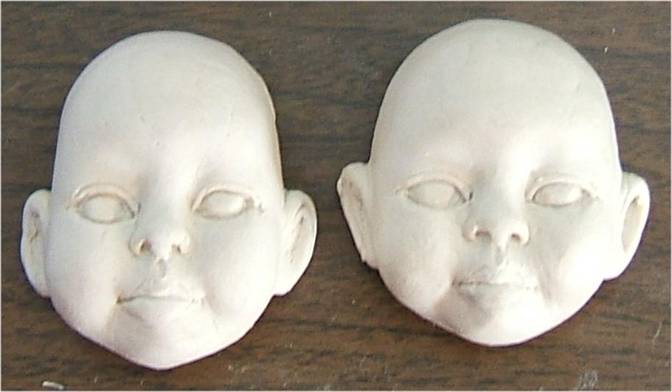
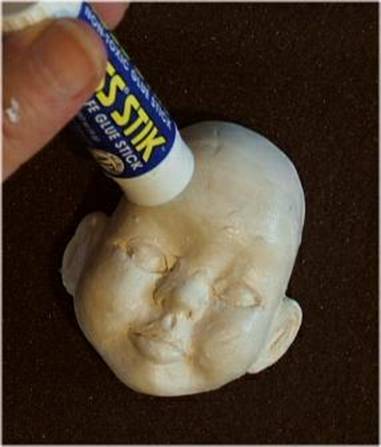
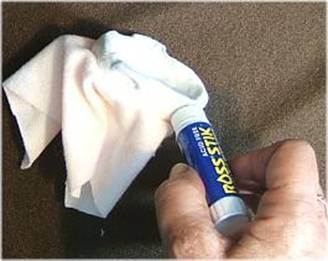
1. Get your 5"X5" piece of Velour, and the face you are going to use. Oh My! I have 4 .I will close my eyes and pick one. 2. Spread the FRONT of the face you have decided to use with Acid Free Glue Stick Glue, making sure to get it into all of the crevices. You will add more at the head sides, forehead, chin and ears after you get the front of the face done and let it set up. I do cloth over's this way, because if you try to cover the whole face/head in one step, the details in the face often get pulled away as you try to work the fabric smoothly all around. I also prefer Glue Stick Glue because it does not bleed through to the fabric. Later in the lesson, I will have a face done with Tacky Glue that I pressed too hard in too thick glue and made it bleed out onto the fabric. This bleeding of the glue to the fabric is always a problem with Tacky Glue and cloth over faces. Velour helps stop it some, but not entirely. Glue Stick Glue stops it entirely!
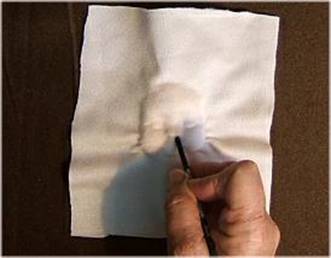
Spread the glue with your fingers, and be sure to get it into all of the crevices. A stiff paintbrush helps with that part. At this time, worry only about the front of the face where the features are. NOW, go wash your hands really well! 3. Lay your square of velour in the center of the face, with the stretch side to side, making sure it will reach over the top of the forehead and under the chin. Start pressing the cloth into the features, from the center to the sides, pressing the creases in with your fingernail. Carefully press and indent all that you can, so the features stand out. REMEMBER!!! Don't worry about the sides yet!!! The sides will be done after the very important front is dry. Why do only the front of the face and let it dry before forming the cloth over the rest of the face??? Because it is soooo easy to pull carefully pressed in features away from the sculpt, while trying to get the cloth all smooth around the sides. If you do the cloth forming in 2 steps, I think you will find it a lot less stressful! It is actually even better to do the front, then the top of the head and perhaps the ears, and then in a third step, work the bottom of the face all nice and smooth.
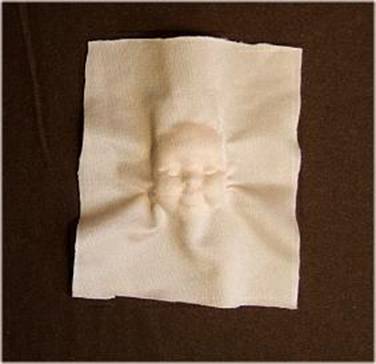
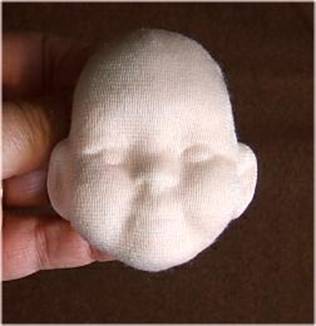
Use your fingernail or paintbrush handle to press anywhere that needs definition .Cheeks, center of lips, eye shapes, eyelids, the dent at the top of the lip, etc. 4. Now, just set the face aside and let the glue dry, before going on to covering the rest of the face. If you made several faces, start covering another one!
6. After the front of the face is dry, add and spread more glue stick glue around the top of the head and in the ears. Be sure to get it in all of the spots under the fabric along the top edge that have not adhered yet.
The glue is spread on, but needs to be spread evenly with your fingers. Be sure to get glue around the back edge too . AND THEN wash your hands before touching the fabric in the front!!!!
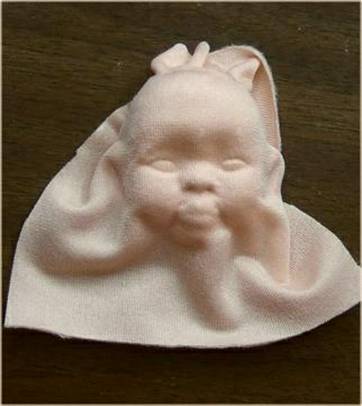
7. Repeat the above steps for the lower face, working all of the excess fabric to the back. You will usually need to work the fabric away from the chin area and up under the lower ears to get the chin and face sides nice and smooth. At this time you can press in the eyelids more if desired, press in at the sides of the mouth, inside of the ears etc. I use my fingernail for any of this pressing. Be especially careful when pressing on the ears, so as not to break them off!
You can certainly trim some of the back fabric off, but I usually leave it. You are going to stuff the head anyways, so it becomes part of the stuffing. |
||||||||||||
| Go to... ~ Classroom ~ | ||||||||||||


Copyright Notice: All pages and graphics are copyrighted by the Internet Visions Company and/or instructor.
You may print these out for the use of the class only. All other uses or distributions are forbidden.
Crafty College and Doll Net are divisions of the Internet Visions Company.
© 1997-2006, Internet Visions Co. All rights reserved.
All trademarks are owned by Internet Visions Company.