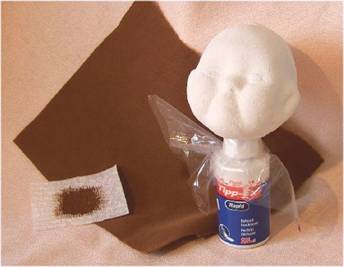
“BLEUETTE” Chapter 4 REMEMBER! I said I would show a fix for Tacky Glue Seepage? So I am going to put a "head back" onto the face that "seeped" and do a Gesso over .The "head back" directions for any head you do are the same. Do put the head back on BEFORE doing a Gesso and paint layer! If you try to do it afterwards, you won't be able to sew the "head back" on.
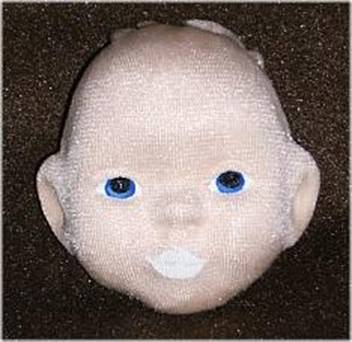
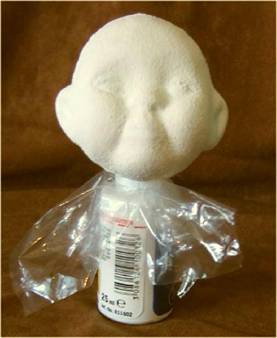
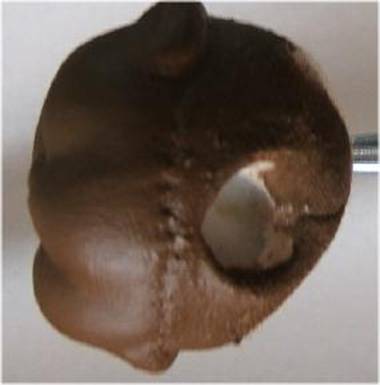
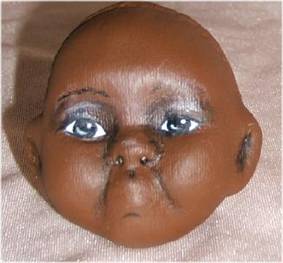
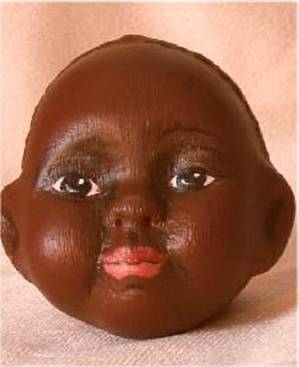
Here is the face with the seepage. See it down on the chin, and inside of the ears? I thought it was going to be fine, so I was going to use it and "squish" another one,+ so I started to paint it but then the seepage started to show up as the face dried. It didn't show at all, until it dried completely! PERFECT! I will use it for the Gesso and Paint over. 1. First, sew the head back onto the "seeped" or ruined in some other way face. Stuff the head as if you were going to put it on your doll. Make sure there is enough room for the neck! 2. Place something up in the "neck hole" and paint a coat of Gesso over the face and back on the sides and under the chin. I covered a white out bottle with plastic, and used that as my "stand".
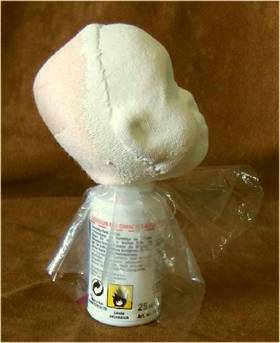
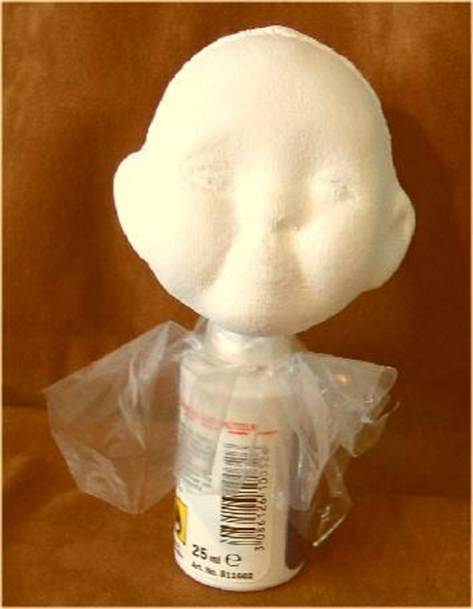
You can put as many coats of Gesso as desired, to make the head smoother and smoother. Sand with very fine sandpaper between each coat, until you are happy with the surface. Fine polish, after sanding using pieces of brown paper bag. It is just rough enough to make a great polisher. NOW, there are 2 schools of thought for Gesso coated and painted heads One is that all evidence of the cloth below should be obliterated. This takes MANY coats of Gesso and very concentrated sanding. The other is that you want a smooth surface, but the "knits" of the fabric can show through. I personally don't have the patience to cover and sand as much as it takes to obliterate the evidence of fabric underneath, and anyway this is a cloth doll!
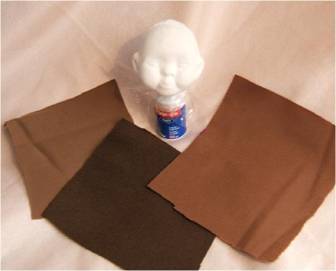
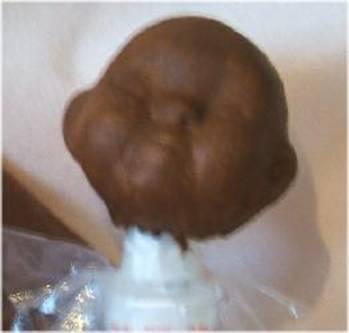
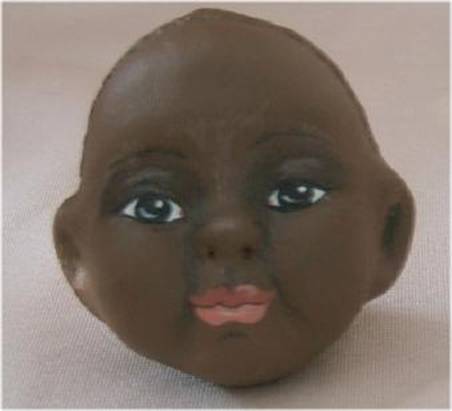
Now, this little Bleuette is going to be a lovely brown skinned Alice . I have not made a brown Bleuette and I have this great velour that I have been using as a background. Actually I have 2 or 3 shades of brown so I need to choose one. Even though the fabric base is peach, I will cover it with brown paint, so none of the peach shows. At the lower back, and just inside of the neck hole I just painted the brown paint, so the fabric would stay a bit soft for putting the dolls neck up inside.
Why? Because I had paint to match it exactly and I have a couple of yards of this lovely brown. It is not Velour, but the new Doesuede which is actually called Bucksuede. Works like velour, but has a mottled look on the fuzzy side. I will be using it with the smooth side showing when I make my doll, so the mottled look makes no difference. The rest of the directions will be mostly pictures with descriptions below them. The feature painting is done exactly like for the cloth face, but for this brown head, with different colors of course.
When it is really dry, I will smooth it with a piece of brown paper bag.
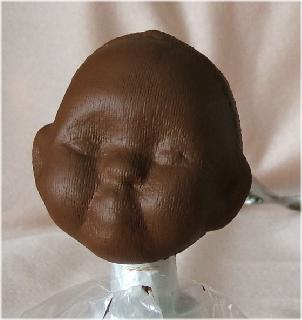
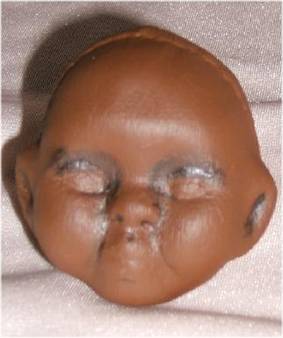
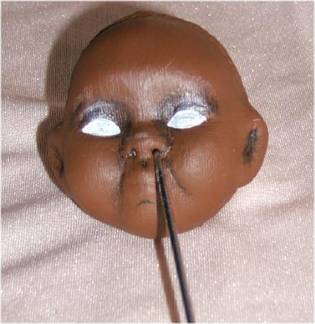
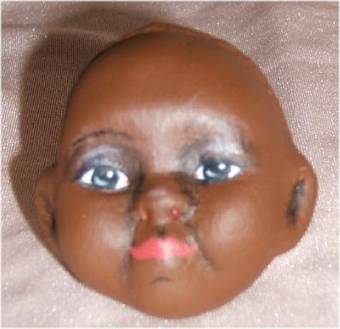
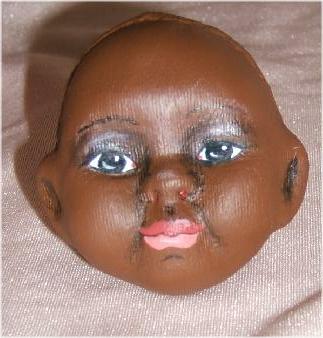
Shade as shown with a black colored pencil. I do this black shading before the eye whites and lips. The shine that is showing is actual shine from the light in the room. We will add some colored pencil highlights too, but with a sculpted face that is shiny with paint, the shine is natural. I am going to spray this whole head with Clear, Matte Acrylic spray when I am all done, so the natural shine will be less. Let's do something different and fun! I am going to make this doll a "breather" as they are called in the porcelain doll industry. With my big needle I am going to poke nostril holes! They don't go clear through to the stuffing, but open the nostrils so they look like holes.
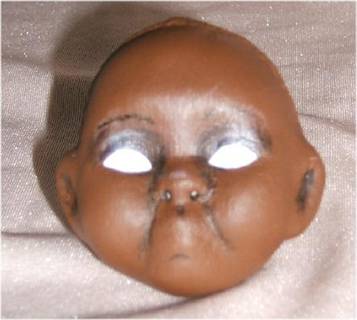
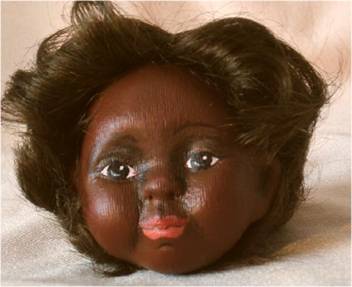
Next, mix a lip color. Red with some white, yellow and brown makes a good color for the top lip on a dark doll. It makes a mauve. Then you will add a bit more white for the bottom lip.
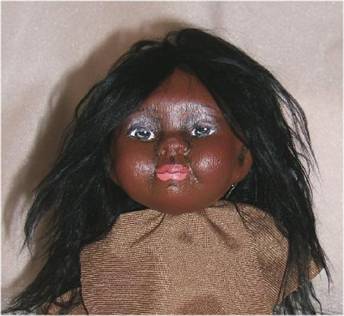
I have no black or brown Alice style wig for this head so I will try a couple of things on for fun.
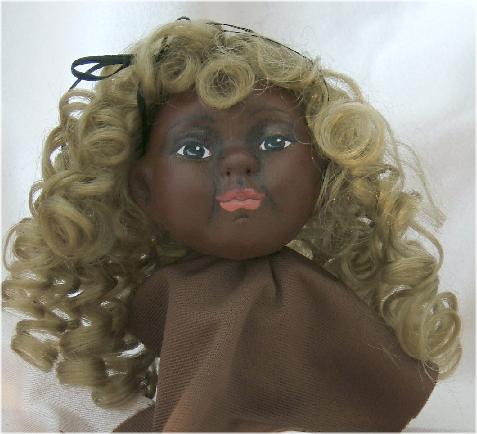
Remember that curly blond wig? Well, I thought I would try it on this head just for fun and I like it!
Well, that does it for this Mini Class! Not so Mini but I hope you have enjoyed it, and have taken away some new ideas and skills. I don't have a body for this little dark doll, so she will show up somewhere at a later date. Perhaps for sale, or just to see at my Picturetrail site. Dolly Hugs! Judi
|
||||||||||||
| Go to... ~ Classroom ~ | ||||||||||||

Copyright Notice: All pages and graphics are copyrighted by the Internet Visions Company and/or instructor.
You may print these out for the use of the class only. All other uses or distributions are forbidden.
Crafty College and Doll Net are divisions of the Internet Visions Company.
© 1997-2006, Internet Visions Co. All rights reserved.
All trademarks are owned by Internet Visions Company.