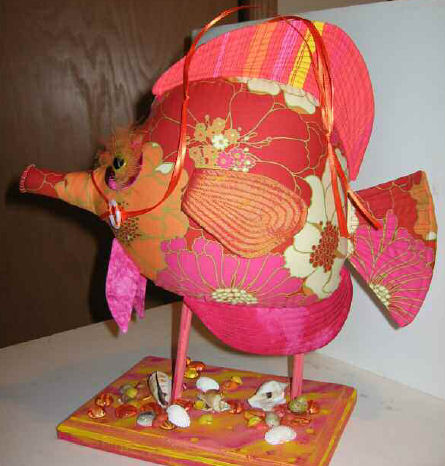
Merna takes a test drive
Online Cloth Doll and Fish Class
by Kate Erbach
© September 2006
Lesson 3 - Fins, Eyes and Bridle
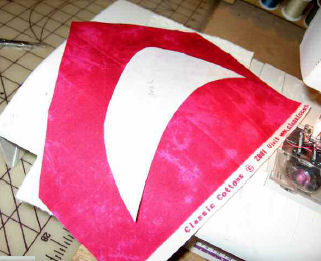
Fins: The fins are templates and should be transferred to freezer paper, then ironed onto WS of doubled fabric with a layer of Warm & Natural or batting on the bottom.
|
|
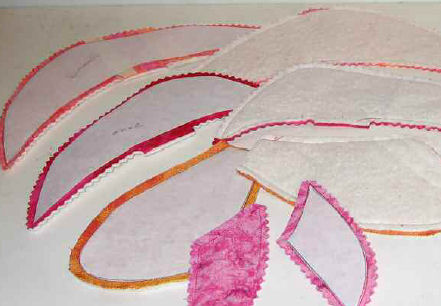 |
Stitch around fins leaving open where indicated. Cut out close to stitching. |
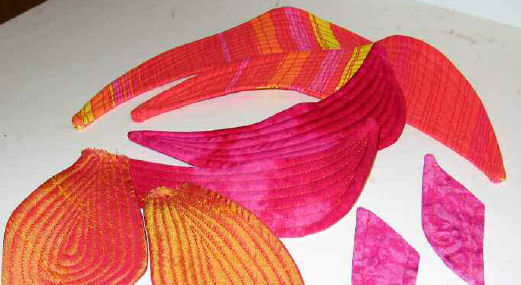
| Turn RSO through openings and lightly press or finger press. Hand stitch all openings closed. Quilt fins in a manner pleasing to you. You may wish to leave the small fins unquilted. |
|
|
All the fins are attached to the body with hand stitching. Position the fins on the fish body and ladder stitch into place. I like to ladder stitch from both sides of the fins to add extra stabillity. Now I know you're wondering why I didn't stitch the fins into the gusset seams? Well frankly, I didn't think of it till I had my fish together. You may of course wish to do this with a later fish. I prefer hand stitching the fins in place as it covers up any boo-boos made when sewing the gussets and tail seam.
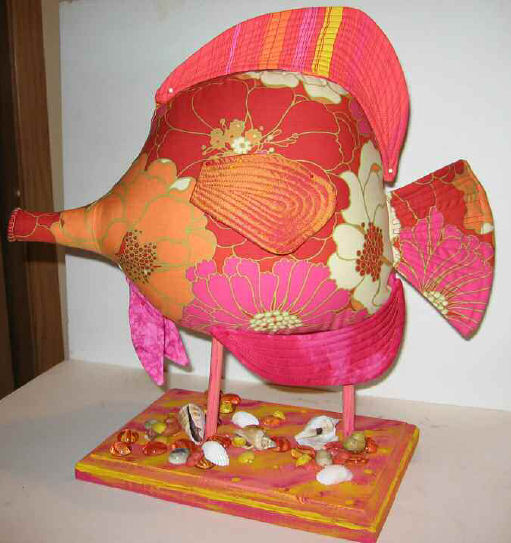 |
The large bottom fins get placed just in front of the dowels and following the curve of the fish's body on the gusset seam.
The two top fins are placed on the seam of the gusset on each side and follow the curve of the body. |
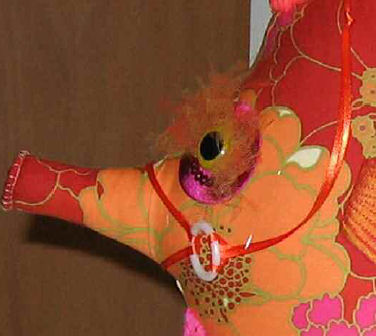
Side fins are placed approximately centered on the fish's body but just a little forward and down.
The small front fins are placed on either side of the front point of the gusset on the bottom.
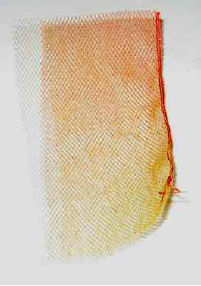
| Eyelashes: Layer 2 to 4 small pieces of tulle (2 x 4) together and stitch down the center on the long side. Fold on the stitched line and stitch again close to the fold. |
 |
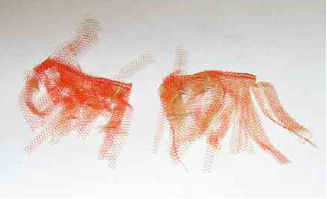 |
Cut this piece in half and with your scissors cut up to the stitched line in 1/8 to 1/4 increments. Shake. Set aside. |
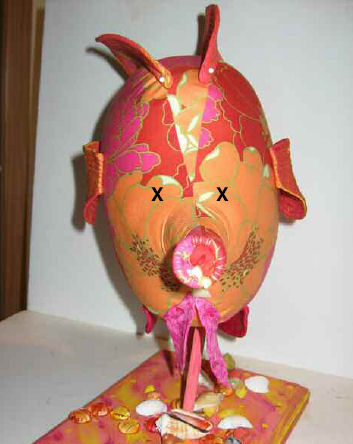
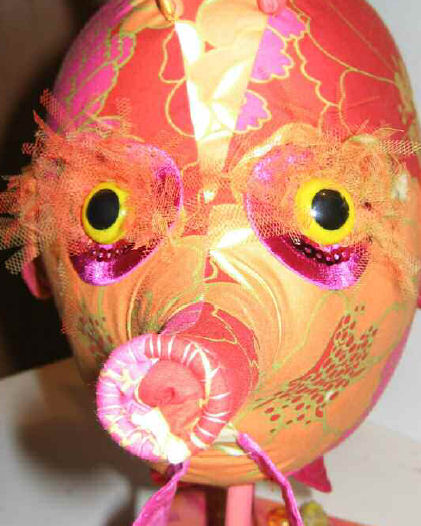
Eyes: Mark the eye placement about a 1/2 below the front point of the gusset and 1/2 to 1 on either side of the gusset on the front of the fish.
Using a scissors or awl, poke a hole on either side where you marked the placement. |
 |
|
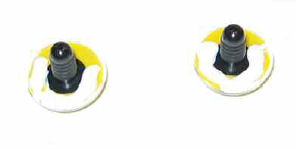
Run a line of glue on the backside of the plastic eyes. |
| Set the sewn edge of the eyelashes into the glue and allow to dry thoroughly. |
 |
 |
Apply glue to the posts of the eyes and insert into the holes you made.
Allow to dry thoroughly.
In this example I have added an embroidered applique behind the eyes. This was glued into place first, then the eyes glued into their eye holes. |
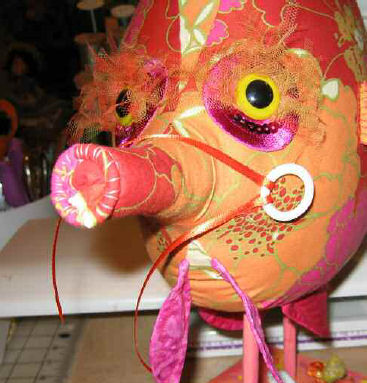
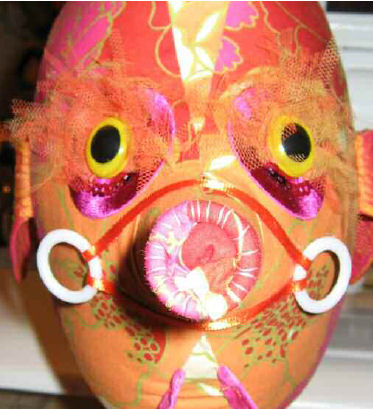
| Bridle: Cut two pieces of ribbon 6 long. Apply FabricTac to one end and glue over a 1 curtain ring. Repeat for the other piece of ribbon. |
 |
 |
Hold the curtain ring up to the side of the fish's mouth and approximate the length of ribbon needed to reach the
other curtain ring when folded and glued. Cut off any excess from the 6 ribbon pieces to accomplish this. Glue the ribbons to the fish in a few places, I like to glue the edges closest to the rings. |
| Take remaining ribbon and cut in half. Slip knot each piece through one of the curtain rings, bring both pieces together at the ends and knot together. |
 |
|
Finishing: Apply glue to the ends of the dowels and insert into the base.
DONE FISH! On to Merna! |
© Kate Erbach 2006