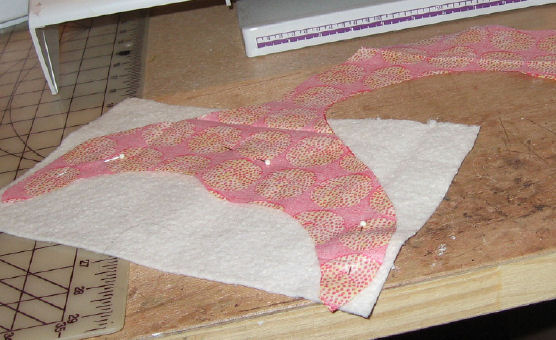
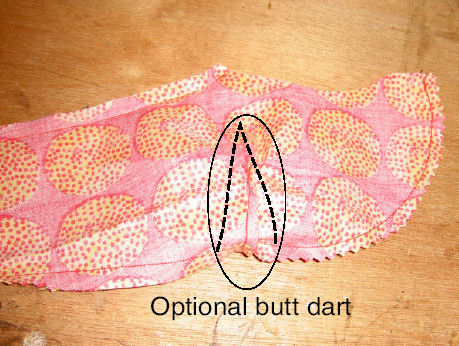
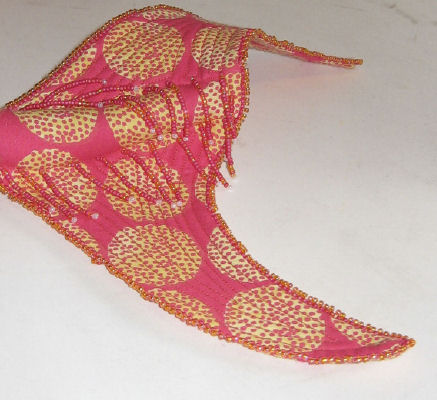
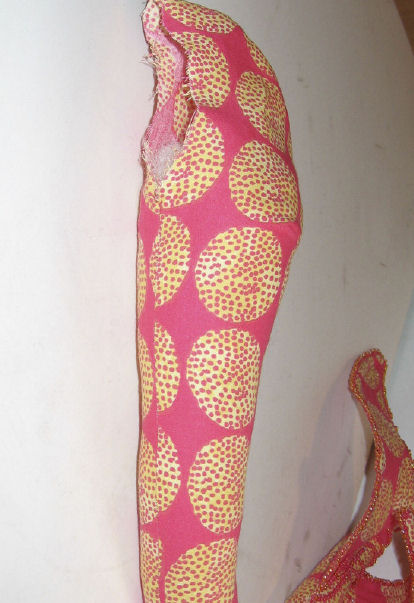
Go to... ~ Classroom ~

Merna takes a test drive
Online Cloth Doll and Fish Class
by Kate Erbach
© September 2006

Lesson 4 - Merna’s Tail


The tail is a pattern piece and has the seam allowance included. Cut out on doubled fabric of choice. Before stitching, cut a piece of batting to fit the approximate fluke area.

Layer batting, then fabric RST on top of batting. Start stitching at top of waist and continue all around tail and fluke area to other side. Leave entire waist area open. Clip curves or use a pinking shears to cut out.

At the butt area, just where the curve begins to straighten out into the tail, you may opt to stitch a dart. This dart will help to flatten her butt to help her sit on the fish better. This is an optional step.

Turn RSO. Press.

At bottom of tail, on right side of fabric, topstitch a curved fingerlike shape from where the flukes start, down to the end of the tail and back up to where you started.

Quilt the flukes in a pattern pleasing to you.

Thread a beading needle and using seed beads and sequins, bead in a random pattern all over the flukes.

Stuff firmly up to where the tail curves into the butt area. Leave the rest open. Set aside.

At this point you can test sit the tail on the fish. Place the tail in place, moving around until you are satisfied with placement. Later we will discuss affixing the mermaid in a more permanent fashion

© Kate Erbach 2006

Go to... ~ Classroom ~

Copyright Notice: All pages and graphics are copyrighted by Kate Erbach and/or the Internet Visions Company. 
  You may print these pages for the use of the class only and only by the registered student.  All other uses or distributions are forbidden. 


Crafty College and Doll Net are divisions of the Internet Visions Company.
© 1997-2006, Internet Visions Co. All rights reserved.
All trademarks are owned by Internet Visions Company.