Merna takes a test drive
Online Cloth Doll and Fish Class
by Kate Erbach
© September 2006
Lesson 5 - Merna’s Body and Ruffle
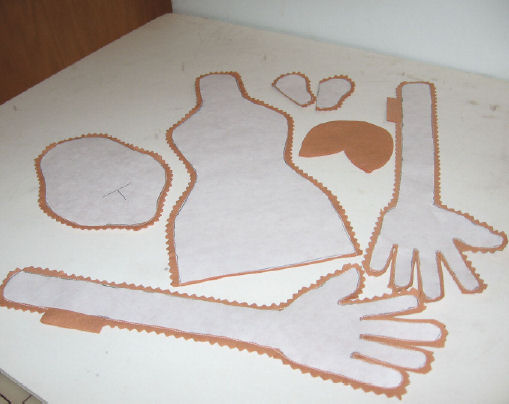
This section is presented with the separate instructions for layout and construction of each body part. I have shown all body parts layed out on the fabric as this is the way I do all my dolls. I lay out the templates, sew, cut and finally stuff. You may choose to do it differently.
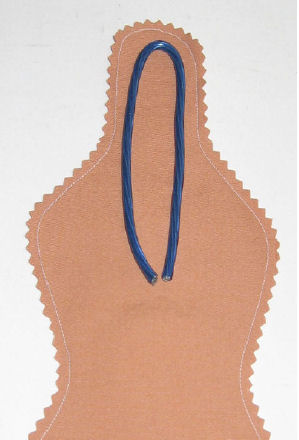
Body: Iron your template to body fabric. Sew around body leaving open where indicated on pattern piece.
Cut out using pinking shears. |
|
|
Body: Iron your template to body fabric. Sew around body leaving open where indicated on pattern piece.
Cut out using pinking shears.
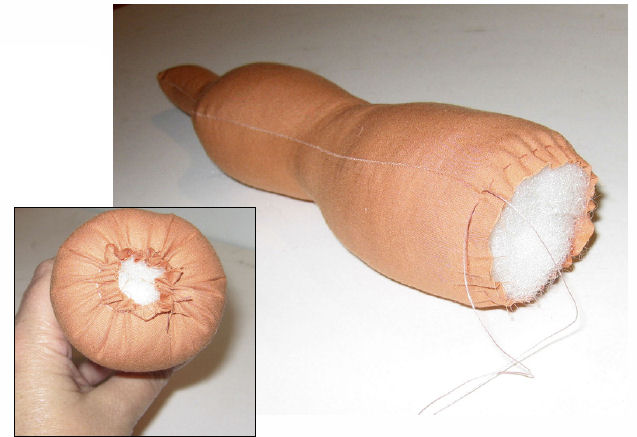
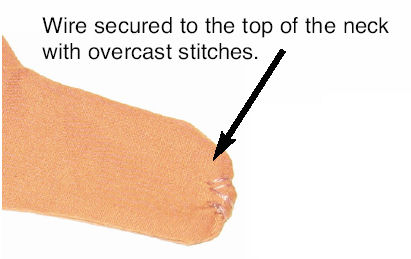
Stuff firmly around the neck wire and the entire body. Stop stuffing body approximately 1/2-3/4 from the bottom.
|
Hand gather around the opening with a strong thread ( I prefer upholstery thread for all my gathering and jointing).
Pull tightly to close and fasten off. |
|
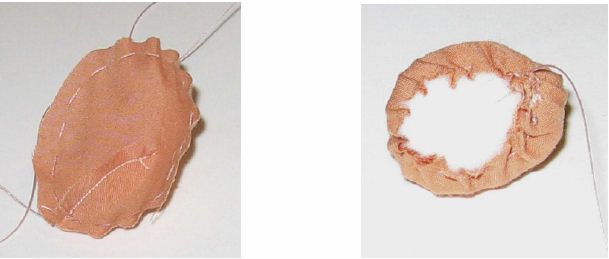
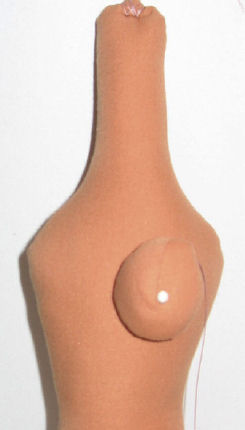
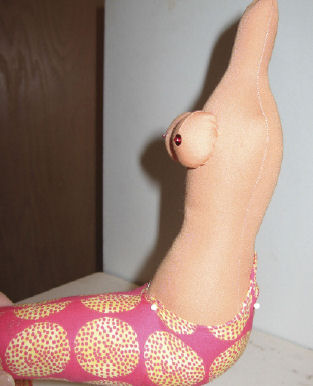
Breasts: The breasts are a pattern piece and need to be cut out from skin fabric. Stitch the dart in each breast.
Run a gathering stitch around the outside edge of each breast, insert a pompom into each breast and tighten up gathering stitch. |
|
Place breasts on Merna's chest and position them close together and pin in place. With darts at center bottom of the breasts, ladder stitch in place.
|
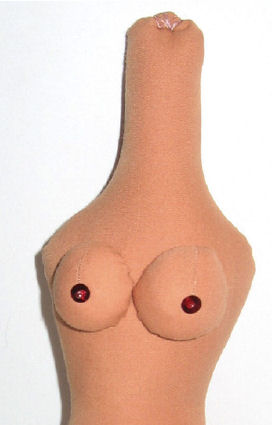
Thread a needle with strong thread and knot, come up from underneath one of the breasts and out at the tip of the dart ( this is approximately the center of the breast ); thread on a sequin and then a small bead, go back through the sequin only and into the breast and back out where first started.
Knot off thread and repeat for other breast. |
|
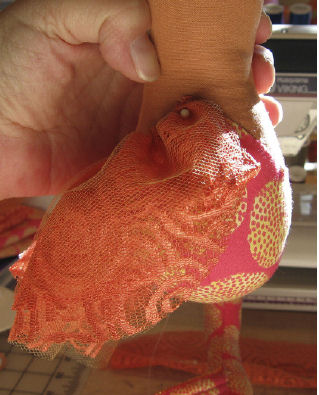
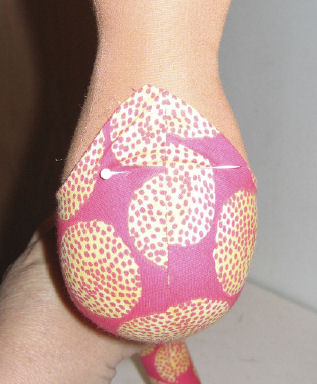
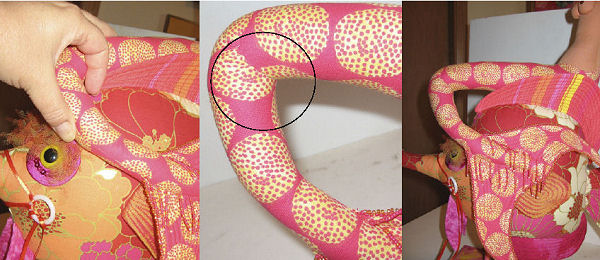
Joining body to tail: Take bodyand insert it into the open area of the tail. This is a tight fit so ease her in slowly. Pull up the back of the waist so the point meets the waist on the body. Turn raw edge under and ladder stitch the body to the tail, inserting a bit of stuffing if needed to fill out tail area.
At this time I like to test fit Merna to the fish. Because her tail is so long, I like to ladder stitch a dart to bend the tail a bit. Notice in the picture where I am bending the tail. Mark this and take Merna off the fish and stitch the dart. The picture at middle shows the dart stitched in place to bend the tail. And, Merna placed on the fish again to show how the tail lays against the fish. |
|
|
|
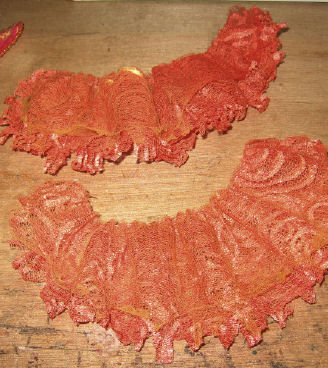
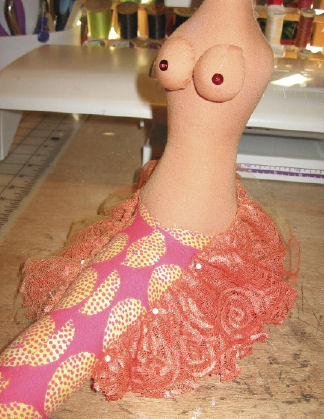
Ruffle: Cut two ruffles on the fold from chosen fabric. I like to use polyester organza or tulle here. If using cotton you will need to seal the raw edges with Fraycheck. If using organza or tulle I like to heatgun the edges or candle them.
|
This allows the fabric to melt a bit and gives some interesting curly effects to the edges. If you are candling the edges be careful and watch closely so you don't burn the edges too much. Now, fold the ruffle in half the long way having the fold slightly off center so the edges are uneven; giving a look of layered ruffles.
Run a tight gathering stitch with upholstery thread knotted on the end along the fold.
|
Gather up slightly so that the ruffle fits from center back waist down side of hip and extending about 2-3 inches along the side. |
Tack stitch the ruffle in place. Repeat for the other side. |
|
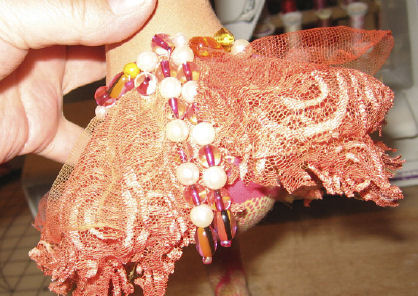
Thread a size 7 John James darner with upholstery thread. Starting from the center back, stitch beads over the ruffle edge to hide your tack stitches.
|
|
|
Use graduated sizes and colors of beads for an interesting effect. Stitch beads all the way to the end of the ruffle on both sides. Set body aside. |
© Kate Erbach 2006