|
Merna takes a test drive
Online Cloth Doll and Fish Class
by Kate Erbach
© September 2006
Lesson 6 - Arms/Hands

|
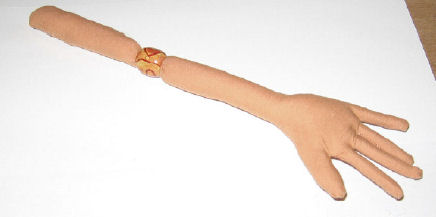
Iron templates to doubled fabric. Sew around leaving open where indicated. Remember to take 2 stitches between fingers for ease in turning.
Cut out using a pinking shears, switching to regular scissors when cutting around fingers. Cut out with a scant 1/8 SA on hand.
Turn RSO using turning tool of your choice. Gently pull on fingers once hand is turned to straighten.
|
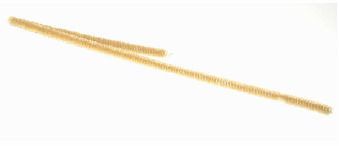
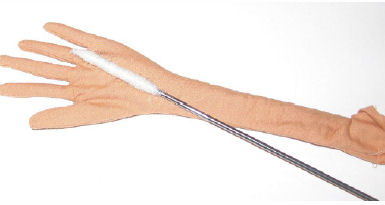
Fold one third of each chenille stem down. Insert a bit of stuffing into ends of fingers then insert folded end of chenille stem (a stuffing fork is helpful for this) into each finger and thumb. |
|
|
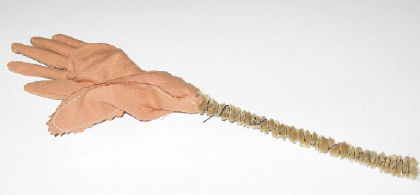
Twist ends of stems together into a small clump and wind with floral tape or strong thread.
Continue to insert small bits of stuffing into fingers to fill out, add small bits into the palms and larger portions of stuffing into the heel of hand and thumb. On top of hand lightly stuff just to cover marks of chenille stems. Continue stuffing
the arm around the chenille bone.
|
If you wish to add a barrel bead for the elbow, stop stuffing just before the area where you want the elbow to be, on outside slide a barrel bead onto arm and push down onto edge of stuffing of lower arm, continue stuffing to top of arm. Ladder stitch opening closed. |
|
|
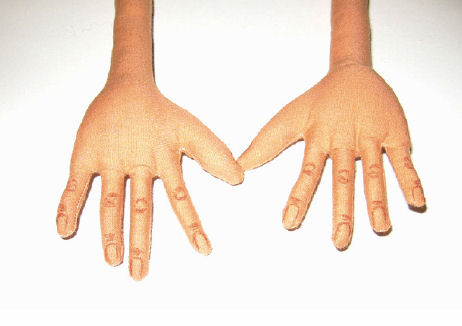
Fingernails/Hand details: With a brown gel pen draw small upside down U shapes on the end of Merna's fingers, making the U cross over the seam on the thumb. Lightly draw 2-3 small lines just below the U on the finger. On the knuckles draw small semicircular lines on top and bottom of knuckle.
|
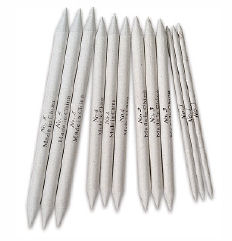
Using a lt. brown, umber or sepia tone Prismacolor pencil, lightly shade over the lines drawn on the fingers and thumb. Blend lightly with a blending tor- tillon or a small piece of fabric. |
|
 |
Nails are colored with one to two colors of Prismacolor pencils. Shade the outer sides of the nails with the darker of the color chosen, then with the lighter shade color the center of the nail bed. You may want to redraw the outside line of the nail again with the brown gel pen for emphasis. Often times I will also give the doll a French manicure instead. |
| To do this, color the nail bed with a light pink or peach tone. Then with a white paint pen, draw small half moon shapes at the base of the nail and small crescents at the nail tips. Seal the nails with a fabric medium or spray on fixative. When dry I also like to add a layer of gloss decoupage or Crystal Lacquer. When using the decoupage I just glop it onto the nail so it looks like a rounded lump. This will dry and give a more dimensional look to the nails. |
 |
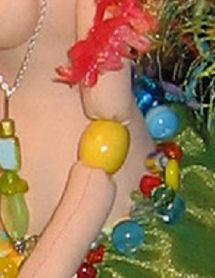
Adding jewelry*
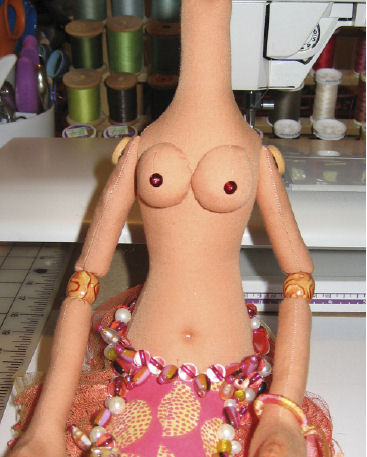
Attaching arms to body: Attach the arms to the body using button joints and stitching back and forth through the body. Go back and forth through the body and the buttons 3 to 4 times, snug up each time you pass through the body so arms are tight against her shoulders.
On this doll I used covered buttons but I also like to use decorative buttons, like shells or stars. |
* If you want your Merna to have bracelets, I like to place them on the arm before jointing. For my Merna, I used an extra 1 drapery ring that I wound with silk ribbon and secured with glue. You may also like to do a simple beaded bracelet. Your decision.
© Kate Erbach 2006
|