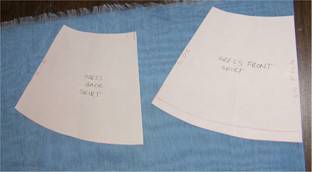
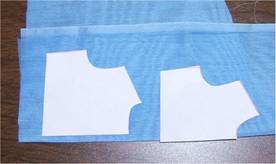
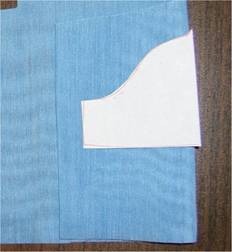
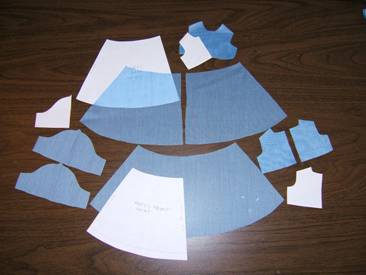
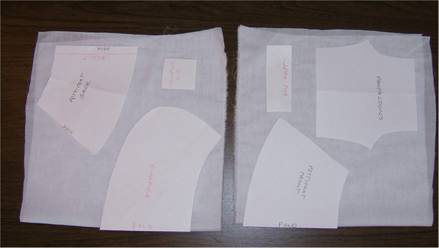
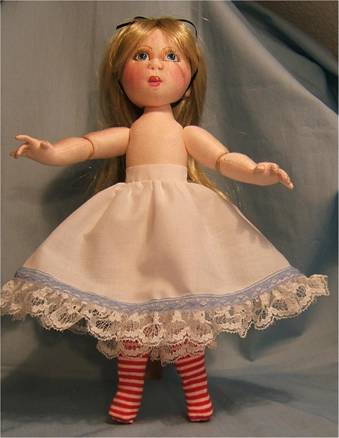
“BLEUETTE” Chapter 1 - Part 1 of 2 Although the cloth "Bleuette" that you have made, or are going to make, can wear all of the clothes patterns done for the Porcelain Bleuette's. I was having so much fun with her, that I decided that an " Alice in Wonderland" costume, and a molded cloth covered face would be a great addition (Mini Class) to the original "Bleuette in Cloth" class. Sherry Goshen has designed and sculpted a darling face mold for "Bleuette in Cloth" and she has the mold for sale at. http://dollmakersjourney.com/goshon.html The second chapter presented here will show you how to use the mold and make your Bleuette with a molded face. If you already do dolls this way, please use the way you are comfortable with. My way uses Velour or Doesuede or Bucksuede for both the Bleuette doll and for the face covering. The velour is used with the "fuzzy" side against the molded paper clay face. With the "fuzzy" side in you will have better adhesion and tacky glue will be less likely to bleed through the cloth .(Another of my Pet Peeves for cloth over's.) BUT, I do it differently anyway I use Acid Free Glue Stick glue for "cloth over's", because it NEVER bleeds! The clothes here are "real", meant to have snap or button closures, and meant to be removable, so you can change your dolls clothes to your hearts content. I had some very lightweight blue lawn fabric for the dresses but it was in small pieces, so layouts are creative. I made 2 complete outfits, photographing both at different times, so the lace may change in the pictures, as I used 2 different kinds. The doll with the regular face shows up as I construct the clothes because I already had her done while waiting for the Cloth Over mold to arrive, and I needed a model while constructing them. FIRST . A small pattern pieces hint .Cut all of your pattern pieces from Freezer Paper, even those with seam allowances added Iron the Freezer Paper patterns to your fabrics Place a pin or two within the pattern, (not around the edges) to keep the 2 layers together .Cut the pieces out right along the edge of the paper This makes for more exact cutting, especially for very small pieces Remove the Freezer Paper and proceed with the sewing .Of course, for Template pieces, sew along the papers edge first and then cut the part out a "seam allowance" away from the sewing. FOLLOWING ARE SOME LAYOUTS FOR THE CLOTHING. I USED SMALL PIECES OF FABRICS I HAD, SO THE LAYOUTS ARE DIVIDED UP IN SOME CASES. This is a perfect outfit for using up those small pieces, as nothing needs more than 1/4 yard, most way less than that. If you must buy new fabric, buy ¼ yard or Fat Quarter pieces.
NOTE
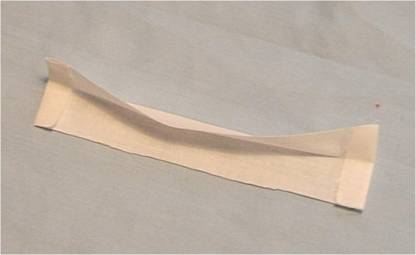
The Apron straps are made from
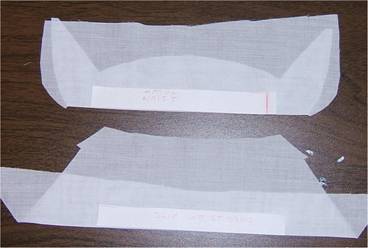
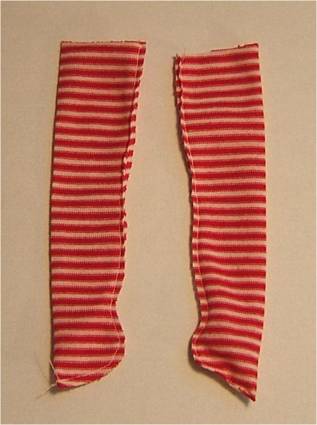
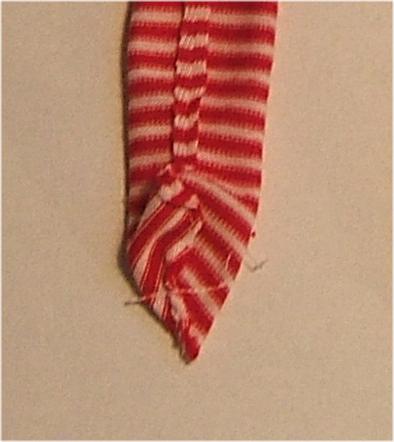
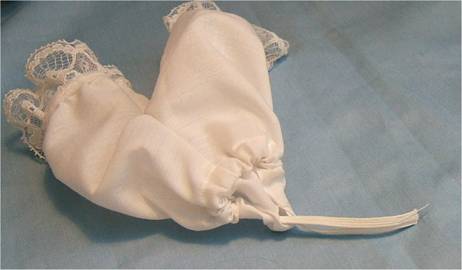
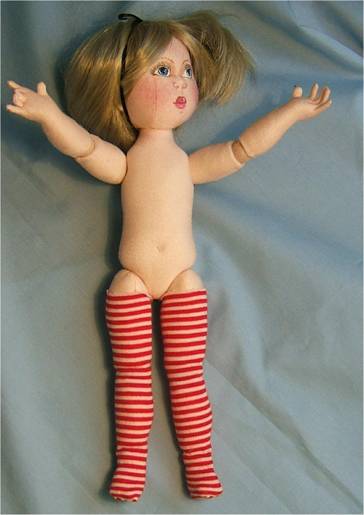
THE STOCKINGS: You can of course use purchased stockings. Very thin baby socks make good stocking material though. The stockings shown here are made from a cotton/spandex T-Shirt. The stripes were perfect. I did not take a picture of the Freezer Paper pattern on the stocking material, but you know how to do that. 1. Sew the back seams of the stockings right along the Freezer Paper edge. The stocking pattern is used as a template, so you sew first, and then cut out. 2. Remove the paper, and then sew across the point, folding the stocking front as shown. 3. Turn right side out and carefully pull them up on your dolls legs. With the ball joints, this can be a bit tricky, so be careful, and work slowly. The stretchier the fabric is the better, but mine was not very stretchy and worked just fine, but it took a bit of care pulling them on.
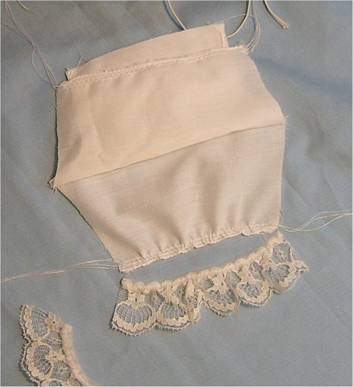
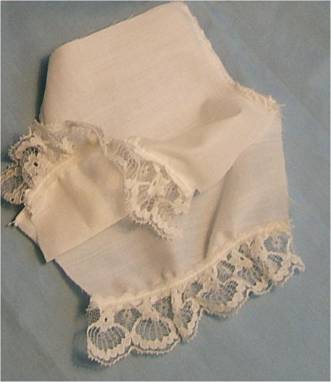
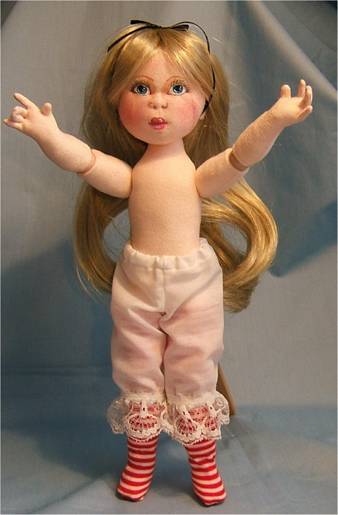
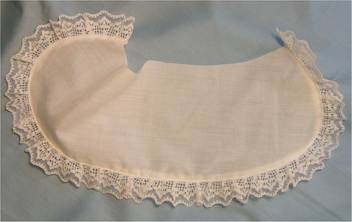
THE PANTALOONS: Remember the Freezer Paper hint I won't repeat it any more I promise. 1. Place the pantaloon pattern on double fabric, and cut the pantaloons out. Cut your lace pieces for the leg openings too. 2. Sew the center front and center back seams, and then Zig-Zag stitch over the raw edges. Also Zig-Zag stitch the over the bottom leg edges of the pantaloons.
3. Sew 2 rows of gather stitches to the leg bottoms and pull the gathers up to fit the lace. 4. Sew the lace over the gathers, on the right side.
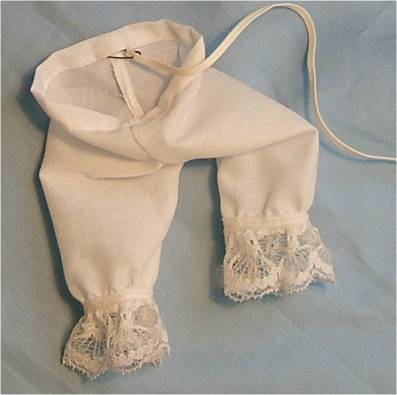
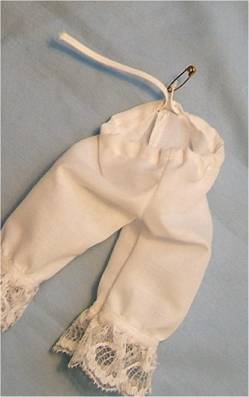
5. Sew the inseam, and then clean finish the seam with a Zig-Zag stitch. 6. Hem the waist edge, leaving a small spot for running the elastic through. 7. Run 1/8" wide elastic through the waist edge and pull it up to gather the waist to fit your doll.
8. Sew the ends of the elastic together, and then sew the tiny spot in the waist edge shut.
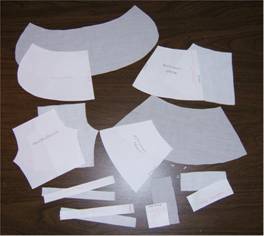
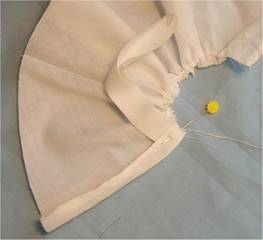
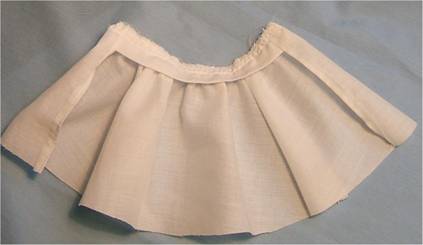
1. Sew the side seams and zig-zag stitch over the seam edges Also narrowly hem the long back edges. 2. Sew the ends of the waistband and turn and press the waistband 3. Run 2 rows of gather stitches along the waist edge and pull the bobbin thread up to make the gathers fit the waistband, allowing a ½" overhang at each end. 4. Fit, pin and sew the waistband to the skirt waist edge, and then zig-zag stitch the raw edge. 5. "flip" the skirt ends to the right side, to fully expose the waistband with the nicely finished back edge. 6. Zig-zag stitch the hem edge of the petticoat and sew lace over the edge. OPTION If desired you can sew a narrow, flexible lace over the gathered lace edge. I like that look. 7. Sew the center back seam or leave the entire back open. 8. Sew snaps or make a tiny buttonhole and sew on a tiny button to close the petticoat waist. PHOTOS OF MOST STEPS FOLLOW. SOME DON'T NEED A PHOTO.
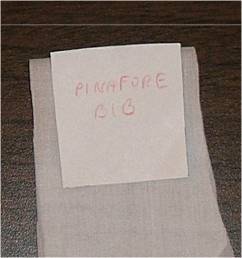
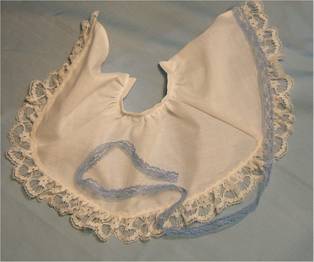
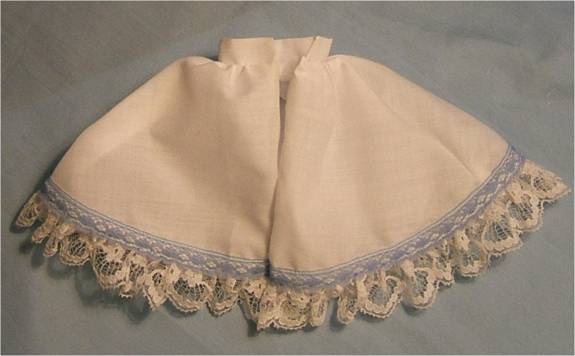
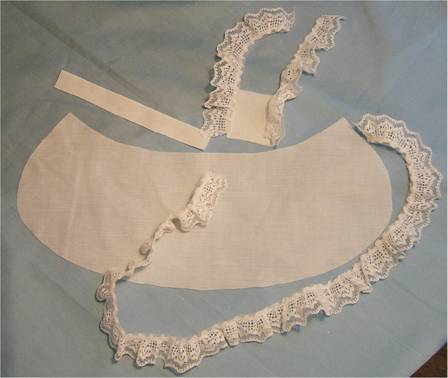
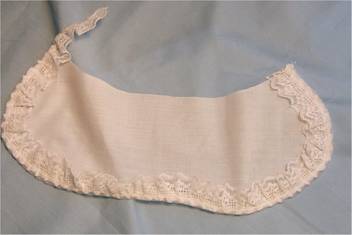
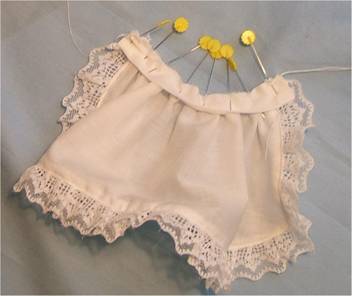
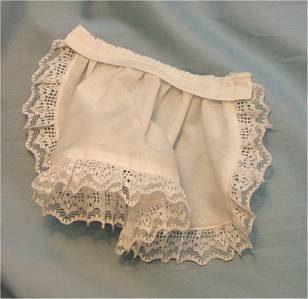
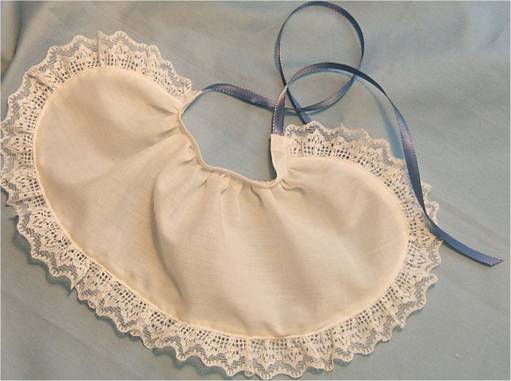
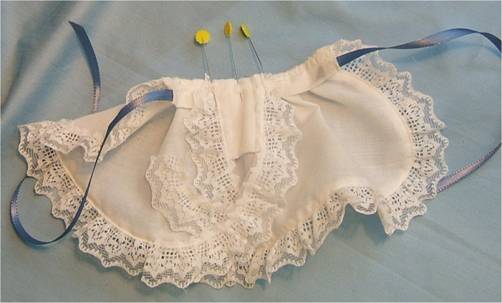
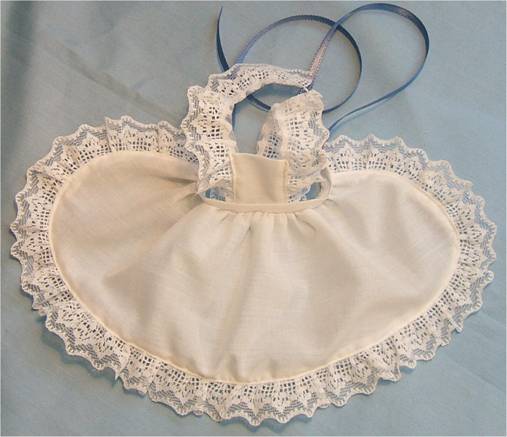
THE PINAFORE: 1. Clean finish the curved edge of the pinafore skirt with a zig-zag stitch. 2. Sew the gathered lace to that edge, RST, as shown in the photo. 3. Press the lace down and then top stitch on the right side to keep the lace down. 4. Fold and press the ends of the waistband in about ½" at each end. DON'T sew the ends!
Fold and press the ends of the waistband in. Don't sew those ends for the Pinafore, because we will put ribbon into the ends as ties. 5. Run 2 rows of gather stitches along the waist edge and pull the gathers up to fit the waistband. 6. Fit, pin and sew the skirt to the waistband, and then zig-zag stitch over the seam.
7. Insert the ends of 1/4 " wide ribbon in the open ends of the waistband and sew them in place.
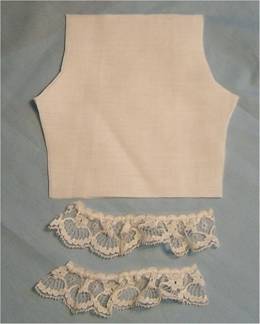
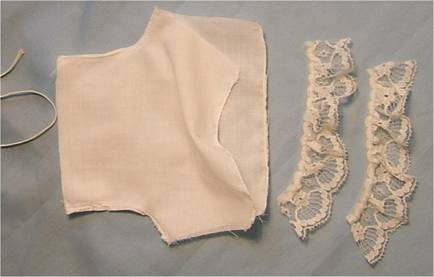
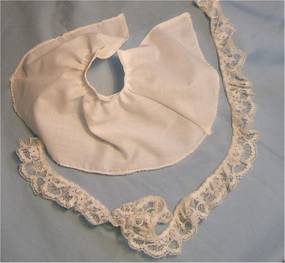
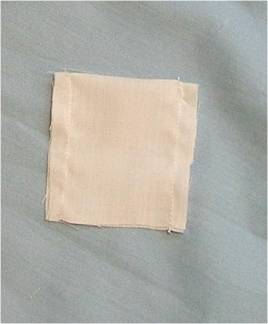
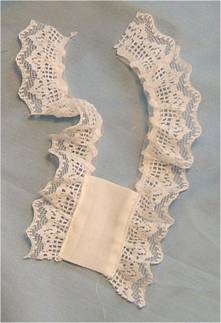
8. Sew the side seams of the BIB if you placed it on the fold, or sew all the way around if you cut two complete separate pieces. Turn the BIB right side out and press. 9. Sew the lace straps in place either with the bound edge of the lace under the BIB, or with it on top. NOTE You can also sew ribbon over the lace edge if desired.
10. Place, pin and sew the raw edge of the BIB in place at the center of the waistband. Zig-zag stitch over the raw edge.
|
||||||||||||||||||||||||||||||
| Go to... ~ Classroom ~ | ||||||||||||||||||||||||||||||


Copyright Notice: All pages and graphics are copyrighted by the Internet Visions Company and/or instructor.
You may print these out for the use of the class only. All other uses or distributions are forbidden.
Crafty College and Doll Net are divisions of the Internet Visions Company.
© 1997-2006, Internet Visions Co. All rights reserved.
All trademarks are owned by Internet Visions Company.