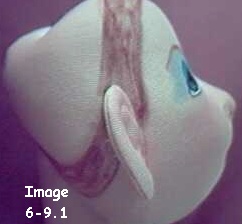
 Image 6-9.1 ½" band colored all around. Glue will cover all of it. |
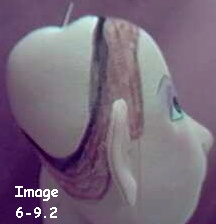 Image 6-9.2 Dark line where the wefting will be. |
Taught by Judi Ward of Judi's Dolls
http://JudisDolls.com
5. Now this part is very important! I am going to color the width that the glue has to cover so you can see it better. You dont have to color it, but can if you wish.
It has to be a strip about ½" wide, going towards the crown of the head, and it has to cover the line you drew. It will go all the way around the head but you work only about 1" at a time with the hot glue, so it doesnt set before you get the hair pressed into it. This first time around with the hair is needed for both the 1 pony tail and the 2 pony tail hairdos.
The thread of the wefting MUST be back from the line that full ½" so it doesnt show on the finished hairdo.
I marked where the wefting needs to be in black marker, so it will show in the pictures better too. You dont have to do this marking either, but you can if desired. I just did it so you could see the locations better.
I have found in "hands on" classes that the students want to put the wefting right on the line. If you do, it will show when you flip the hair back into the correct position.
For the gluing, the hair will be down over the face. The messy, kind of matted part will be UP, facing you.
NOTE*** if you are sewing the hair on, you will sew one row of stitching to the face side of the line, and another along the wefting. The wefting still MUST be back that ½". You will have to sew with VERY TINY back stitches for it to hold.
NOTE*** Please, Please dont think you have
to do this coloring. But also, Please, Please, do it if it will keep you
guided along properly while gluing the hair on.
|
Image 6-9.1 ½" band colored all around. Glue will cover all of it. |
Image 6-9.2 Dark line where the wefting will be. |
6. Now lets glue that first strip all around the head. Be sure the matted part is UP, facing you. NOT down against the dolls face.
7. Starting at the center back, spread glue
evenly all over the area it needs to be (the colored part) for about 1",
and then quickly press the hair into the glue with your finger or thumb.
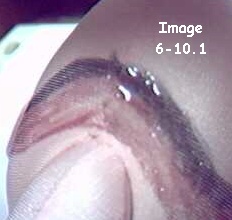 Image 6-10.1 The glue spread evenly and not too thick. |
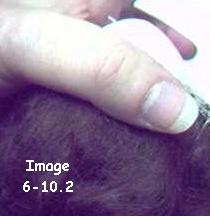 Image 6-10.2 How to press the entire section down. |
8. Repeat all the way around to the center back again. Cut the strip of hair at the wefting so it will overlap a little at the center back.
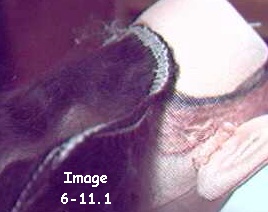 Image 6-11.1 Center back glued. |
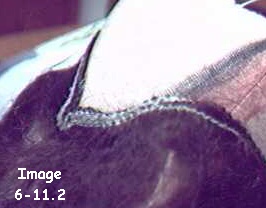 Image 6-11.2 Glued down and then up over the ear. |
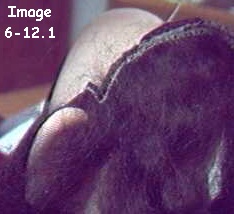 Image 6-12.1 The wefting bent over the ear, but the glue and the "hair" is down on the colored Part in front of the ear. |
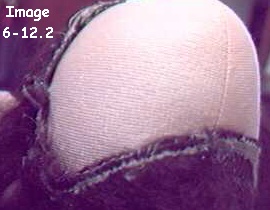 Image 6-12.2 Down the other side and back to the center back. |
This whole process gets "real hairy" about now!
9. Your doll will have hair hanging down all around, but it isnt nearly enough hair. You have to go around the whole head twice more.
10. Pull the hair up to check and see if
you covered all of the marks. If any show, carefully put a bit of glue
on them and then put the hair back down over the area and press the hair
into the glue.
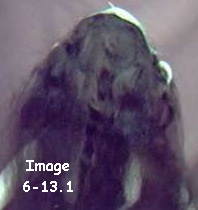
Image 6-13.1 Your doll will have hair hanging down all around. |
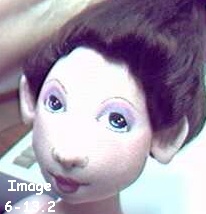
Image 6-13.2 Pull the hair up just to see if you covered all of the marks. |
11. Now, for the second row of hair. The glue will again be in a band about ½" wide. It needs to cover the wefting on the first row.
12. Go all the way around the head just like
the first row. Dont worry about little folds, as you turn the wefting
to go around and over the ears etc.
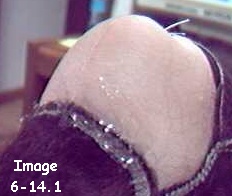 Image 6-14.1 The second band of glue covers the wefting of the first row of hair. |
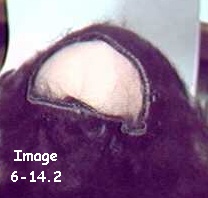 Image 6-14.2 Dont worry about little "bends" in the wefting. |
NOTE***If you are sewing the hair on, the second row of stitching will need to go just below the wefting of the first row of hair, and another row on the wefting of the second row.
13. Now repeat, for a third time all around the head.
14. WOW! The poor doll looks like a monster
from outer space!!! She is screaming "LET ME OUT OF HERE!
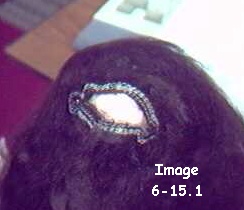 Image 6-15.1 The third row glued down. |
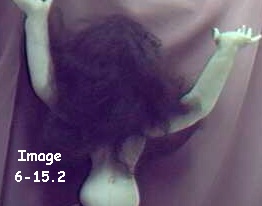 Image 6-15.2 HELP!! LET ME OUT OF HERE!! |
14. Now carefully "finger comb" and use a jointing needle to comb the hair and arrange it up to the top of the head for the pony tail. You can place the pony tail in the center or on the side. Some dolls want it one way and some dolls want it another way. They will tell you!
I usually like to pull a few tendrils out in front of the ears, before pulling the ponytail up and tying it in.
Tie the pony tail in with cord, like jointing cord, jewelry cord, or dental floss. You will add ribbons later, after your doll is dressed.
***CAUTION***
Regular combs and brushes will pull too much hair out if you use them on the hair.
15. To get a little more curl back into the
mohair, dampen your hands with warm water and "crunch" it up with your
hands. Let dry without messing with it.
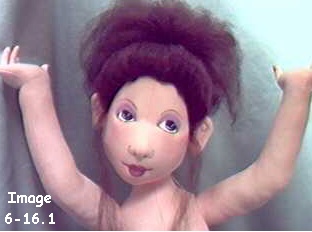 Image 6-16.1 Pony tail in the center top. |
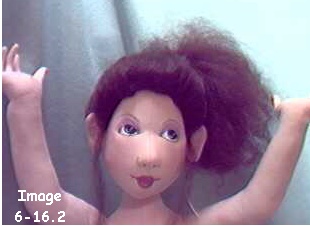 Image 6-16.2 Pony tail on the side. |
16. Now, glue (or sew) her ears back. I put a little dab of glue right in the center/back of the ear, and press it down with my finger. Only glue the center, not around the edges. If you glued the hair on, the ears will have to be glued back.
If you sewed the hair on you can sew them
back
again, only in the center.
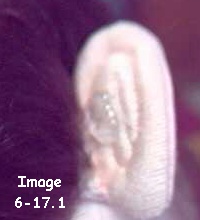 Image 6-17.1 This is a little dab of glue, right in the center. |
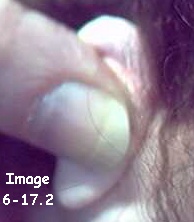 Image 6-17.2 Press the center down hard and hold for a few seconds. |
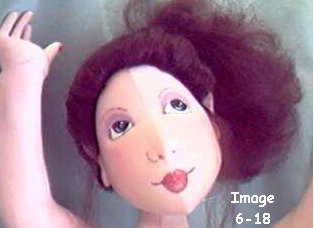
Image 6-18
How to press the entire section down.
Ahhhh
So much better!
I liked my side pony tail.
I still need my eye and lip gloss and eyelashes.
We will do those later in this chapter.
Judi Ward
Judi's Dolls
http://JudisDolls.com

